-
Key Takeaways
-
Understand Your Drone and Its Controller
- Identify the Components
- Controller Layout
-
Learn the Rules Before You Fly
- Hobby vs Commercial
- Registration, Marking, Remote ID
- Airspace & No-Fly Zones
- Local Ordinances & Privacy
-
Pre-Flight Preparation
- Site Selection
- Weather & Environment Check
- Attend to Your Devices
- 10-Step On-Site Pre-Flight Checklist
- Hover Check
- Emergency Plans
-
First-Flight Skills: Take-Off, Hover, Land
- Assisted vs Manual Take-Off
- Stable Hover
- Gentle Landing
-
Basic Maneuvers to Build Muscle Memory
- Taxi Box Exercise
- Orbit Control
- Figure-8 Pattern
- Orientation Challenges
- Intelligent Flight Modes
-
Practice Tools and Progression
- Simulators
- Logging Flights
- Upgrading Gear & Certifications
-
Safety Culture and Common Mistakes
- Top 5 New-Pilot Errors
- Etiquette & Privacy
- Accident Response
-
Frequently Asked Questions
-
Conclusion
Something shifts that moment you hear the unmistakable whine of props spooling up. You spent hours planning on the ground, but now it’s real. As your drone lifts off, every small input on the sticks matters. It can feel equally thrilling and terrifying.
You’re not alone. Consumer drone ownership has surged in recent years. Over 1.61 million recreational drone owners had registered with the FAA by the end of 2024, with thousands more piling in each month.
Along with this steady rise in new pilots taking to the skies has come a slew of avoidable accidents and incident reports. Don’t be that type of statistic.
On paper, drones are often marketed as “tap-to-fly” technology that anyone can master in minutes. In reality, there’s a steep learning curve behind smooth, confident flight. Most beginners quickly discover that responsible flying takes more skill, awareness, and practice.
Get ahead of the curve by learning from our expertise. In this article, we’ll break down the essentials. We’ll also provide a field-ready pre-flight checklist and muscle-memory building drills for your first flights.
Key Takeaways
- Get a basic understanding of how to fly your drone.
- Learn the rules you have to follow while flying.
- Build a pre-flight checklist.
- Practice basic moves and maneuvers to improve your skills.
Understand Your Drone and Its Controller
Identify the Components
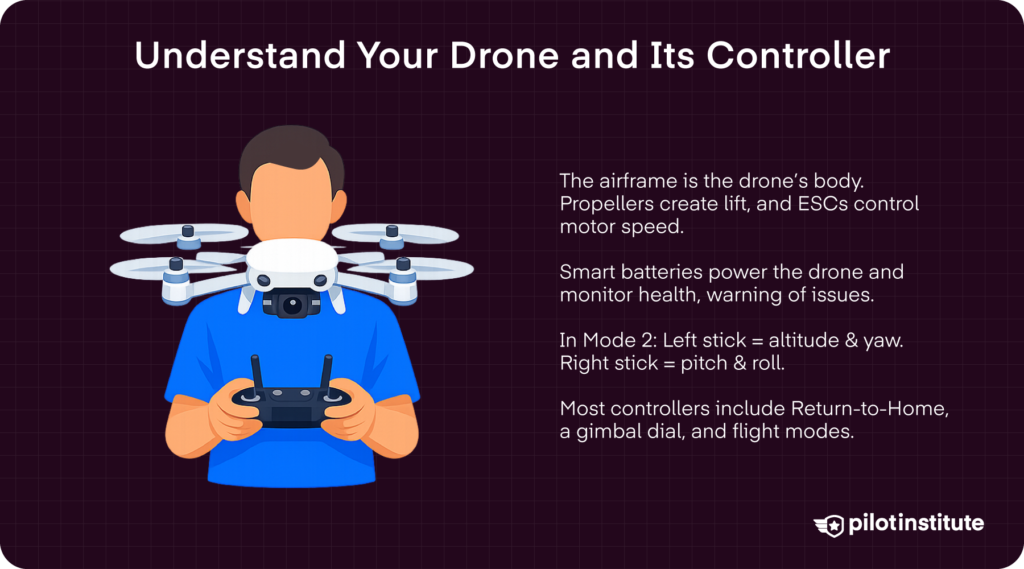
The airframe is the drone’s body that holds everything together. It’s like the frame of your car, providing strength and structure.
Propellers are the blades that spin rapidly to generate lift and keep the drone airborne. Electronic speed controllers (ESCs) help regulate the speed of each propeller motor, ensuring more precise control. Keep your propellers balanced to avoid vibrations that can ruin footage.
Healthy lithium-ion batteries not only provide the juice to fly, but also monitor power performance. Smart batteries can tell you when a battery is degrading before it can affect flight performance and stability.
Today’s drones have impressive cameras with large sensors that capture high-quality images. Most cameras are controlled with gimbals that stabilize shots for clear, steady video.
Vision sensors work with your drone’s obstacle avoidance system to help prevent crashes.
Internal or add-on GPS modules help with accurate positioning, while Remote ID modules broadcast location information to comply with regulations.
Controller Layout
Flight Controls
In the U.S., most drones ship in Mode 2. The left stick controls the drone’s height from the ground, or altitude. Pushing up on the left stick increases the drone’s altitude. Pushing down lowers the drone.
The left stick also controls your drone’s rotation around its vertical axis, known as yaw. This will allow you to turn your drone left or right without changing its position. The drone will simply turn its nose in place.
Meanwhile, the right stick controls forward/backward (pitch). Push the right stick up to move the drone forward. Push the stick down to bring the drone backwards.
The right stick also controls the drone’s left/right lateral movements (roll). Push the right stick to the left to roll left. Push it right to go right.
International pilots may come across controllers using Mode 1, which swaps the stick setup.
Check out our Step-by-Step Beginner’s Guide video if you need a more visual breakdown of flight controls.
Specific Function Controls
Depending on your drone model, your controller will have various buttons or dials that handle specific functions with a quick click.
Gimbals are often controlled with a dial to fine-tune the camera angle while flying.
Many drones have a physical Return-to-Home button to make it easy to press when you get in a pinch.
Some drones allow you to customize certain buttons. Check your user manual for all your customization options.
Flight Mode Slider
If your drone has multiple flight modes, it will also typically have a slider to adjust between them.
For example, DJI drones have three modes (Cine/ Normal/ Sport) that adjust your drone’s motors and gimbal. Cine offers slower, more controlled movements perfect for smooth video footage or beginners learning to fly. Normal offers a bit more speed. Sport is the fastest, but it loses some obstacle avoidance.
Sidenote on Controller Screens
Some controllers have built-in screens, while others use your phone. Built-in screens are often brighter, making them optimal for outdoor use. Yet, they can be more expensive. Controllers using your phone or tablet are more flexible, but can drain batteries faster.
Learn the Rules Before You Fly
Hobby vs Commercial
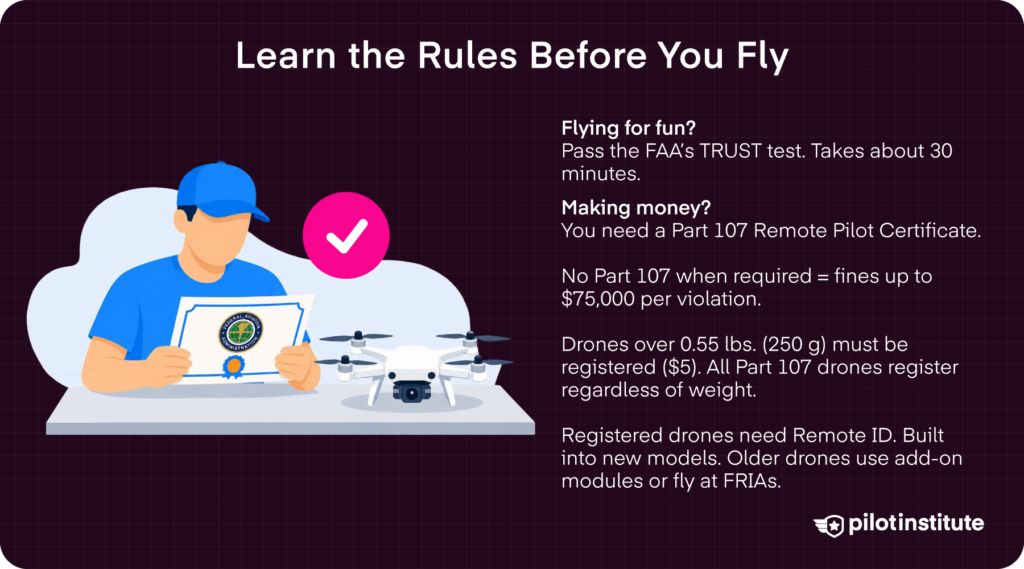
If you fly simply for fun, you are a recreational flyer. You’ll need to pass the FAA’s TRUST test. It’s a simple exam that takes about 20 to 30 minutes to complete. Pilot Institute is actually an FAA-approved administrator of the TRUST exam, so we make the process easy.
Now, if you are making money with your drone, you need a Part 107 Remote Pilot Certificate.
Even if you’re not directly getting paid for drone operations, using a drone in a business context qualifies as Part 107. That means if you are a roofer using a drone for inspections or a travel YouTuber getting sick B-roll shots for your monetized channel, you must fly under Part 107.
Flying without Part 107 certification when required can result in major civil penalties. Under the FAA Reauthorization Act of 2024, fines for unsafe or unauthorized drone operations can reach up to $75,000 per violation.
Still not sure if your operations fall under Part 107? Check the FAA’s What Kind of Drone Flyer Are You? tool to find out.
The Part 107 test consists of 60 multiple-choice questions covering FAA regulations, airspace classification, weather effects, drone performance, and operations and risk management.
You’ll definitely want to spend time studying for the Part 107 exam. Fortunately, we have a great Part 107 training course with 15 hours of video instruction and unlimited practice exams. 99.9% of all of our students pass, so don’t miss out on a chance to learn from leading experts.
Part 107 tests are conducted in person at an FAA-approved Knowledge Testing Center. Search for one in your area to schedule your test if needed.
Get Your FREE Drone Sticker
Stop using masking tape.
Add a pro label in minutes.
- Fits on drone arms.
- Clean, readable format.
- Free, mailed to you.
- Ships in ~7–10 days.
Registration, Marking, Remote ID
Drone Registration
You may also have to register your drone. If your drone weighs 250 grams (.55 lbs) or less, you don’t have to register it with the FAA for recreational flying.
But, if you fly recreationally with a drone that weighs over .55 lbs (250 g), you will need to register it. It’s easy and only $5 with the FAA’s DroneZone website. Don’t get fooled by third-party sites offering registration for any more!
All drones flown under Part 107 must also be registered, regardless of their weight.
Marking
After you register, you will need to fix your FAA registration number on the body of your drone. It must be clearly visible to the naked eye.
This can be done with a permanent marker. For a cleaner look, take advantage of our free registration sticker giveaway.
Remote ID
Your Remote ID signals your location to other pilots and manned aircraft. All drones that must be registered must comply with Remote ID regulations.
Most consumer drones today have Remote ID capability already built in. New DJI and Autel models, for example, will have you covered with an internal Remote ID broadcaster.
Older drones can be retrofitted with add-on Remote ID modules. These can range from $35 to $300, depending on quality and features.
Don’t want to add a bulky module to an older drone? Or maybe you built one yourself and don’t want to add the extra equipment? You can still fly your drone without Remote ID at FAA-Recognized Identification Areas (FRIAs).
| Compliance Path | Who Uses It | Cost |
| Standard Remote ID (built-in) | New DJI / Autel models | Included in the drone |
| Remote ID Broadcast Module | Legacy drones >250 g | $35–$300 |
| FRIA | AMA clubs, campuses | Free (location-bound) |
Airspace & No-Fly Zones
Airspace Regulations
The FAA defines different types of airspace classes to manage air traffic near airports and other high-traffic areas.
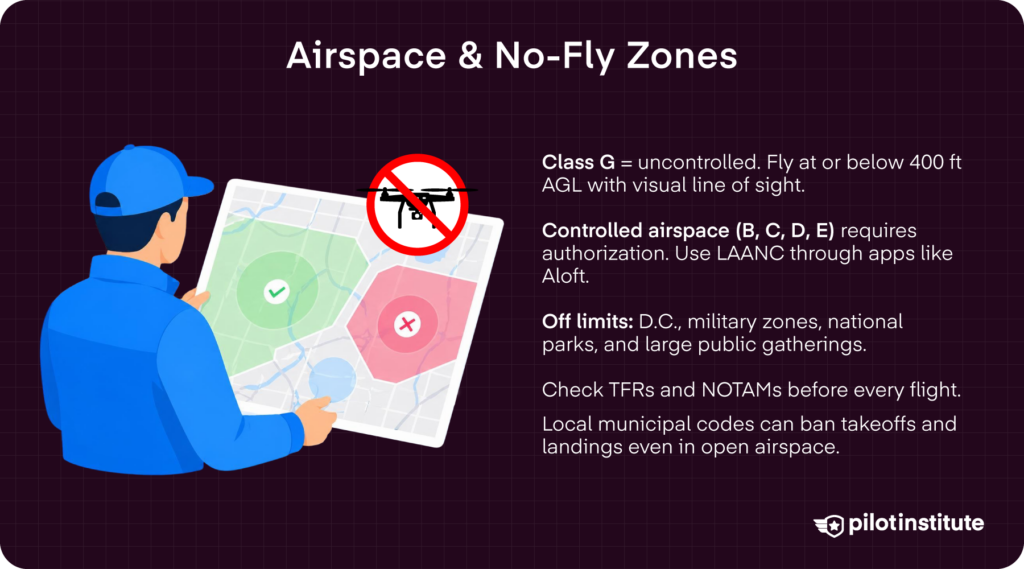
Class G is uncontrolled airspace. This means you can typically fly without prior authorization, as long as you are following the FAA’s flight rules. That means flying at or below 400 feet AGL (Above Ground Level) and keeping a visual line of sight (VLOS) of your drone.
Controlled airspace includes class A, B, C, D, and E airspace. You’ll need prior authorization to fly in controlled airspace.
Apps like Aloft’s Air Control make working with airspace easier. It shows airspace in simple color codes; green is clear to fly, while red is restricted.
Aloft also allows you to use LAANC to get digital authorization for flights in controlled airspace. Simply log in, submit an LAANC request detailing the time and location, and fly according to the altitude ceiling you were approved for.
Take, for example, a Part 107 pilot inspecting a building on the outskirts of Class D airspace. Using Aloft’s Air Control, the pilot receives LAANC approval to fly at 200 feet AGL or lower for a two-hour window on the day of inspection. Easy peasy.
No-Fly Zones
Still, there are areas where you simply can’t fly. Sensitive areas like Washington, D.C., and military zones are restricted. You also can’t fly over big public gatherings like protests, football games, or concerts. National parks and wilderness areas are also off limits.
Always check for temporary flight restrictions by checking the FAA’s TFR database. Notice to Airmen (NOTAMs) also provide key updates to potential flight interruptions, alerting pilots to hazards, special events, or changing conditions that could impact safe operations.
Local Ordinances & Privacy
Before flying, check your local municipal codes. While only the FAA controls airspace, City, County, or park restrictions can often prohibit takeoffs and landings.
And it’s always important to respect people’s privacy. You can see a lot from the air, so be mindful of what you’re recording. Avoid filming individuals or private property without permission.
Pre-Flight Preparation
Site Selection
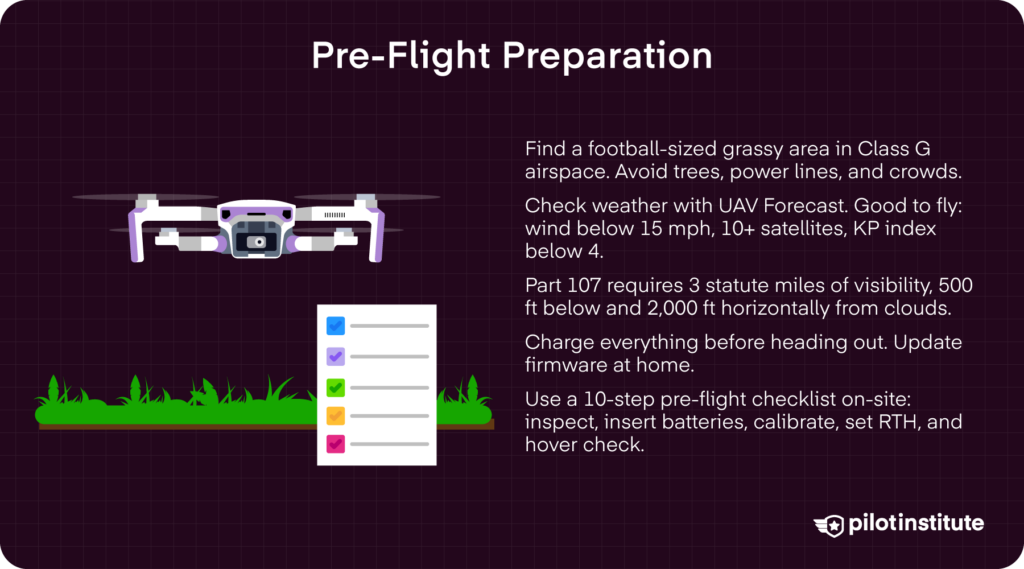
Choose your first flying location wisely. Find a local park with a football-sized grassy area to practice key maneuvers with plenty of space. Avoid areas with trees, power lines, or crowds. Double-check what airspace you would be flying in to make sure you are in Class G (uncontrolled) airspace.
The Academy of Model Aeronautics also sponsors flying locations all over the country. These are great spaces to practice and meet other pilots.
Scope out the location before you fly, noting emergency landing options.
Weather & Environment Check
You can’t control the weather. But you can check ahead for it. Don’t get to your location only to see thunder clouds on the horizon.
There are free apps like UAV Forecast that provide hourly weather data. The free version gives you up to three hours of predictions, including precipitation, wind, geomagnetic, and even satellite data. You’re good to fly when the wind is below 15 mph for sub 250 g drones, you are connected to at least 10 satellites, and there is a KP index below 4.
Under Part 107, you need visibility of 3 statute miles to fly and must stay 500 feet below and 2,000 feet horizontally from clouds. Recreational pilots should also follow these guidelines for best safety practices.
If you are flying in colder weather, just remember that cold batteries drain faster. Keep Lithium batteries nice and insulated, at around 59° F (15° C), for best performance.
Attend to Your Devices
It sounds simple, but we’ve all forgotten to charge our devices before heading out to fly. Make sure you charge your controller, batteries, phone, and all other auxiliary devices. Bring an extra power bank to keep momentum in the field.
Don’t forget to update your firmware, too. It’s a pain to try to download a safety update in the field with only one bar of service. Update your firmware for your drone and controller at home while your batteries are charging.
If you’re planning on taking footage and photos, prep your micro SD cards. It is recommended to use micro SD cards with a capacity of around 256 GB and a U3 rating for the fastest write speeds. If you’re using a brand-new SD card, you may need to format it correctly as well.
10-Step On-Site Pre-Flight Checklist
- Visually inspect the drone’s airframe, arms, propellers, camera, and batteries for any visible damage, dirt, or structural defects.
- Insert batteries and a micro SD card.
- Remove the camera gimbal lock or cover.
- Check your takeoff location for any overhead or lateral obstructions. You should have at least 25 feet of clearance at your takeoff location.
- Turn on your drone and check for flashing green status lights.
- Check your camera’s view and make any adjustments to mode, fps, shutter speed, or aperture.
- Set your flight limits in your app, adjusting maximum altitude and distance as necessary. Remember that you can fly up to 400 feet AGL.
- Calibrate the compass and GPS for the current location.
- Set your Return-to-Home point. Adjust the altitude preset to ensure that it’s high enough to clear nearby obstacles.
- Conduct a hover check, ensuring the drone holds a steady position and responds to inputs. Check that motors start and run at idle, without any abnormal noise.
Hover Check
One of the most important parts of this checklist is the hover check. Stay at a safe height and release the sticks. Observe how the drone holds position while monitoring its GPS strength, signal, and battery status.
If there is a GPS issue that forces the drone into ATTI mode, be prepared to manually stabilize it using small, controlled stick inputs to guide a steady descent.
Emergency Plans
Have a plan if you lose signal. Stay calm and initiate the Return-to-Home function.
Be ready to cancel and manually regain control if obstacles appear as your drone is returning home.
Plan your flight around your battery limits. Set a threshold of 25-30% battery to begin heading back. However, if you encounter a critical battery warning mid-flight, descend gradually and aim for the nearest safe landing spot. Don’t try to return to your takeoff location.
First-Flight Skills: Take-Off, Hover, Land
Assisted vs Manual Take-Off
Many consumer drones offer simple auto-launch features. You can just tap on the takeoff icon to initiate automatic takeoff and hovering.
This is convenient, but it’s still important to practice manual takeoff to help build confidence and familiarity with throttle control.
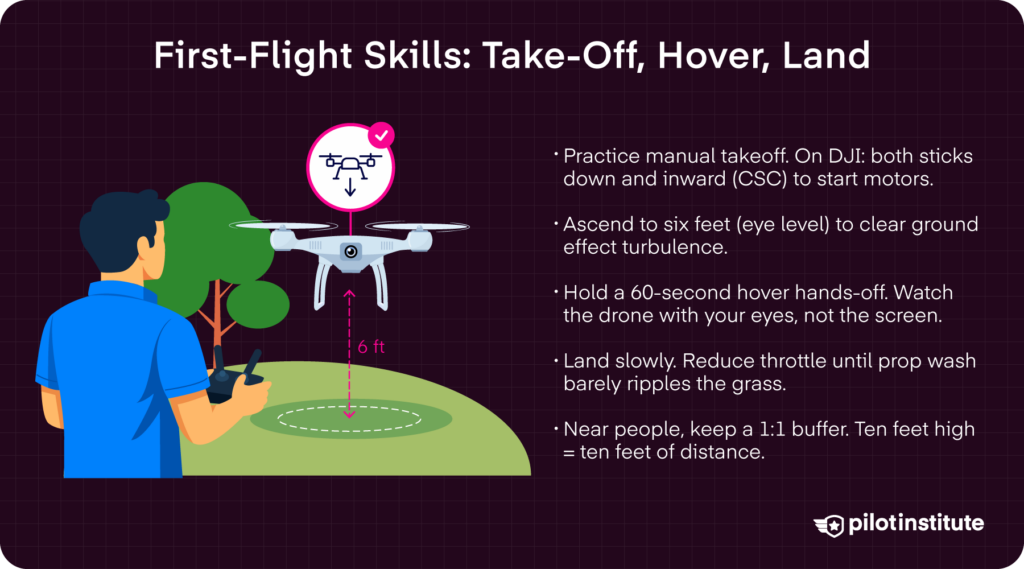
To manually start the motors on most DJI drones, move both sticks down and inward (called a CSC, or Combination Stick Command). Once the motors are spinning, gently push the left stick (throttle) up to lift off.
Stable Hover
Ascend to around six feet, think eye level. This helps move the drone out of the ground effect, where turbulence bouncing off the surface can destabilize the UAS.
Take your hands off the sticks for about 60 seconds and let the drone stabilize. Make small corrections to maintain position. Focus on smooth, minimal inputs to avoid overcorrecting.
Don’t get lost on the screen. Watch the drone with your own eyes. Use ground reference points for stability to develop stronger visual orientation skills in real-world flying conditions.
Gentle Landing
Once you’re confident in the air, practice controlled landings. Slowly reduce the throttle until the propeller wash just barely ripples the grass.
Depending on your drone model, you can use auto-land or a Combination Stick Command (CSC), such as moving both sticks down and inwards to cut power.
When landing near people, try to keep a 1:1 buffer around people. Maintain a distance from crowds that is at least equal to your altitude. For example, if you’re ten feet high, keep ten feet of vertical distance from spectators when landing.
Basic Maneuvers to Build Muscle Memory
Taxi Box Exercise
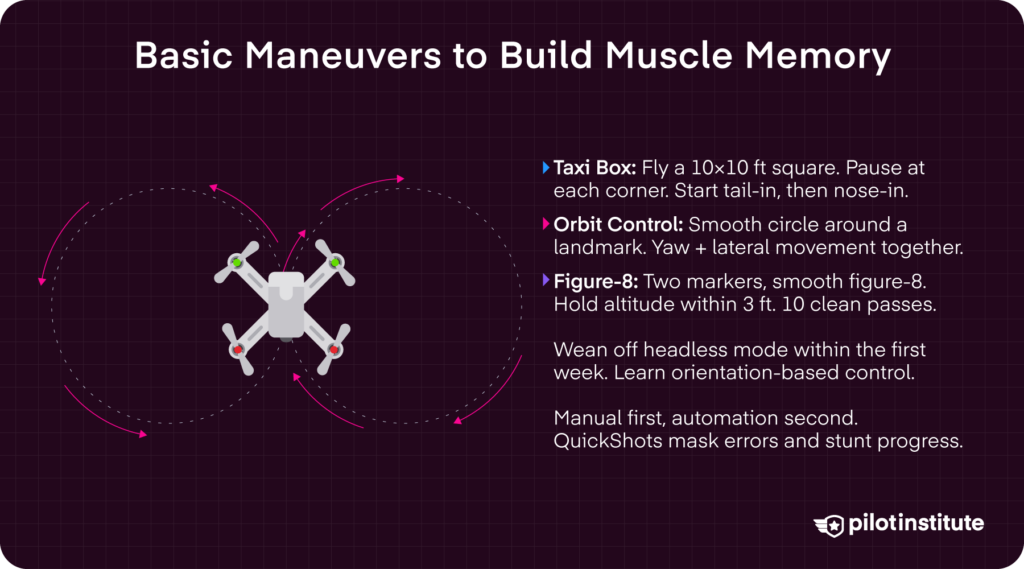
Practice flying in a controlled square pattern, about 10 feet by 10 feet. Move slowly along each side of your “box” shape. Pause at each corner to re-orient yourself.
Start by flying with the drone’s tail facing you. This orients the drone’s nose in the same direction you’re looking, so its movements match your stick inputs.
Then switch to the nose facing you. Here, the stick inputs are reversed, requiring more deliberate thought. While you may not fly like this often, practicing this way still helps you build orientation awareness and more precise control.
Orbit Control
Next, practice flying in a smooth circle around yourself. Use your left stick to adjust the drone’s yaw (rotation), keeping the nose pointed at your subject. Simultaneously, use your right stick to control lateral movement.
Coordinate both sticks to keep a consistent distance and smooth motion around a subject. As you move the drone laterally, rotate its nose locked on the center point. You can use a landmark, like a tree or stump, to help orient your central focus.
Mastering orbit maneuvers ensures smooth shooting in the field. Practicing this coordination between rotation and movement empowers you to capture clean, cinematic orbit shots.
Figure-8 Pattern
To practice figure eight movements, set up two visual markers, or waypoint cones. Practice flying a smooth figure eight around them. Focus on maintaining a consistent line, steady speed, and holding your altitude within three feet for the entire maneuver.
Aim for 10 clean, controlled passes to build coordination and confidence around turns.
Orientation Challenges
Many beginner drones offer what they call a “headless mode.” This simplifies controls by making the drone’s movement relative to the pilot, rather than the drone’s orientation.
This can be a helpful safety net early on. However, don’t depend on it too much, as it limits your growth as a pilot. Aim to wean off headless mode within the first week. This is why you can learn to fly based on the drone’s orientation, which is essential for flying safely and with precise control.
Intelligent Flight Modes
Intelligent flight modes make flying look as easy as pressing a button. But the reality is, it’s not. Modes like DJI’s QuickShots can mask pilot error and stunt progress. It’s best to learn the ropes from the ground up. Practice manual moves first, automation second.
Want even more moves to practice? Or maybe video tutorials are easier to learn from? Check out our top 15 Beginner Maneuvers video to sharpen your skills.
Practice Tools and Progression
Simulators
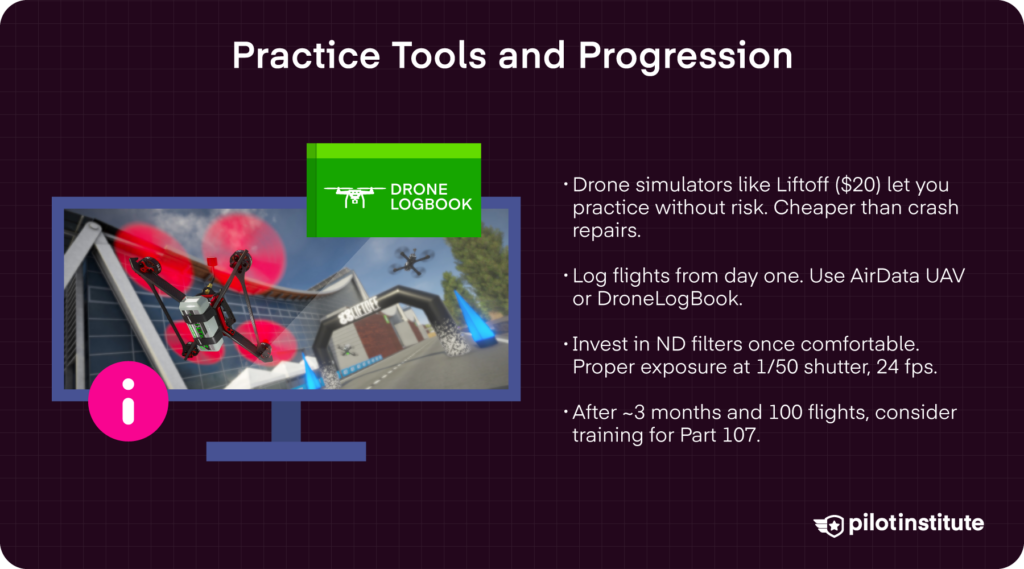
Want to gain experience before even taking off? Drone simulators are excellent tools for building skills without risks. They let you practice maneuvers and what to do in emergency scenarios before taking those skills into real-world flights.
Liftoff runs about $20. Compared to the cost of propeller repairs or crash damage, it’s a small price to pay for building muscle memory safely.
Logging Flights
Start logging your flight hours from the very beginning to see how much work you’re really putting in.
Part 107 pilots also have to log maintenance records and battery cycle monitoring. Keeping consistent logs improves accountability and extends equipment life.
You can use tools like AirData UAV or DroneLogBook to help track flight hours, incidents, and performance trends over time.
Upgrading Gear & Certifications
Once you’ve got the basics down, you can begin to experiment more.
Invest in some neutral density (ND) filters. These are like sunglasses for your drone’s camera. They reduce the amount of light hitting the sensor so you can maintain proper exposure on bright, sunny days.
You’ll typically need ND filters for shooting cinematic footage at a 1/50 shutter speed at 24 fps. This follows the 180-degree shutter rule that helps create natural-looking motion blur. Each frame captures a small amount of motion blur that mimics how the human eye perceives motion in real life. The result is cleaner, more realistic footage compared to choppy and overly sharp shots.
After about 3 months of flying (100 flights or so), you may want to look into training for the Part 107 exam. Experienced drone pilots are always in demand, so you can start earning some cash as you gain experience and licensing.
We have a great masterclass for passing the Part 107 exam. The FAA also provides free study resources. Such resources give you a solid path to passing the test.
Safety Culture and Common Mistakes
Top 5 New-Pilot Errors
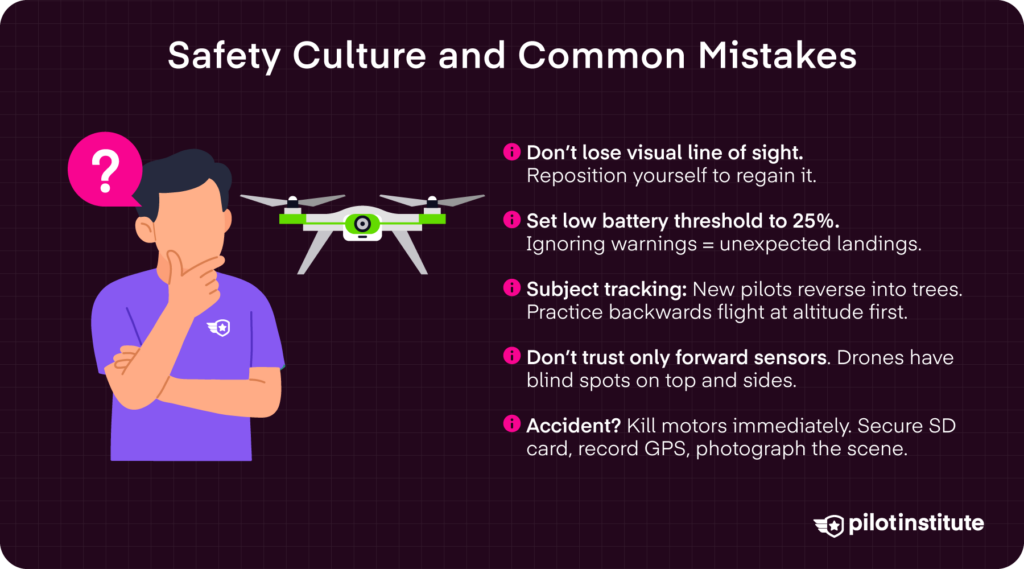
1. A common mistake many new pilots make is flying behind obstacles or losing visual line of sight (VLOS). This presents serious safety risks, as you can’t see what obstacles you may be approaching. To avoid this, reposition yourself by side-stepping to a different angle to regain sight.
2. Another frequent error is ignoring low-battery warnings. This can lead to unexpected landings or even flyaways. To ensure your drone always has enough power to return safely, set your low battery threshold to 25%.
3. Subject tracking can get you into trouble if you’re not aware of obstacles in your surroundings. New pilots often reverse into trees or other obstacles when tracking a subject. Practice flying backwards at higher altitudes to get the hang of it before you track a subject in more confined spaces.
4. Many beginners rely too heavily on forward-facing obstacle sensors. Don’t forget that drones often have blind spots on the top and sides of the drone body. Understand your drone’s obstacle avoidance limitations to avoid crashes.
5. Don’t fly indoors without propeller guards. Installing snap-on propeller guards can significantly reduce the chance of damage to the drone and to indoor environments.
Etiquette & Privacy
Respect people’s privacy. Announce that you’re filming to others in shared spaces to prevent misunderstandings.
Accident Response
If an accident does happen, don’t panic. The first step is to immediately shut down the drone’s motors.
Then, secure the SD card to preserve flight data and footage. You can learn from watching your mistakes!
Record the GPS coordinates of the incident for reference. Take clear photos of the scene from multiple angles to support any insurance claims you might need to file or other reporting requirements.
Inspect the battery carefully for any signs of swelling or other damage. Handle it with care if it appears abnormal.
Frequently Asked Questions
- Do I need a license to fly a drone?
If you’re flying for recreational use, you don’t need a Part 107 license. You do, however, need to pass the TRUST exam and follow the FAA’s recreational rules, including keeping your drone under 400 feet AGL, flying within visual line of sight, and avoiding restricted airspace.
If you are flying for commercial purposes of any kind, you will need a Part 107 Remote Pilot Certificate.
- How high can I legally fly a drone?
In uncontrolled airspace (Class G), you can fly up to 400 feet AGL (above ground level).
Part 107 pilots can fly higher than 400 feet AGL if you stay within a 400-foot radius of a structure and do not fly higher than 400 feet above the structure.
In controlled airspace, Part 107 pilots may need FAA authorization, which often includes altitude ceiling limits below 400 feet AGL.
- Do I have to register my drone?
If your drone weighs more than .55 lbs (250 g), you have to register it with the FAA.
Also, if you are flying under Part 107, you have to register your drone regardless of how much it weighs.
- What is Remote ID, and do I need it?
Remote ID is a broadcast system that informs other manned aircraft and the FAA of your location and registration information. It helps keep the skies safer and more organized by allowing authorities to identify who is flying and where.
If you have to register your drone, you will need to have Remote ID. This can be included in your drone already, or added with a Remote ID dongle.
If you don’t want to add Remote ID to your drone, you can always fly in designated FAA-Recognized Identification Areas (FRIAs).
Conclusion
Don’t let unboxing fear stop you from progressing into a competent pilot. Just remember, practice makes perfect.
Learn the rules, build a solid pre-flight routine, and spend a little extra time practicing intentional control. Flying will become second nature.
Consistency and awareness are key to safe flight. Start in open spaces and stay within your limits. Focus on smooth, deliberate inputs, rather than rushing into complex maneuvers.
Download UAV Forecast, knock out your TRUST test tonight, and schedule your first taxi box drill this weekend. Most importantly, enjoy the process.