-
Key Takeaways
-
1. Understand Drone Laws and Regulations
- United States
- European Union
- International Aviation Authorities
- Local Regulations
- Know Flight Restrictions
-
2. Register Your Drone (If Required)
- In the United States
- In the European Union
-
3. Read the User Manual Thoroughly
-
4. Charge Batteries and Prepare Equipment
-
5. Update Firmware and Software
-
6. Perform a Pre-flight Inspection
- Airframe
- Propellers
- Gimbal and Camera
- Batteries
- Sensors
- Lights and Indicators
-
7. Calibrate Compass and Sensors
- Compass Calibration
- IMU Calibration
-
8. Plan Your Flight and Check the Weather
- Select a Suitable, Legal Location
- Check Weather Conditions
- Drone News Update
- Obstacle Avoidance and VLOS
-
9. Familiarize Yourself with the Controls
- Practice with a Flight Simulator
- Familiarize Yourself with Basic Controls
- Start Slow and Practice, Practice, Practice!
-
10. Know the Emergency Procedures
- Common Issues
- Utilizing the Return-to-Home (RTH) Function
- Regaining Control
-
Conclusion
Last Updated:
Flying a drone for the first time can be incredibly thrilling! Yet, that excitement can quickly sour without proper preparation.
Avoid frustration and accidents on your maiden voyage by following these 10 key steps.
Key Takeaways
- Know the regulations to avoid breaking them.
- Confirm whether or not you need to register your drone.
- Build an effective preflight checklist, double-checking drone components and accessories before flight.
- Learn how to calibrate your drone’s compass and IMU settings.
1. Understand Drone Laws and Regulations
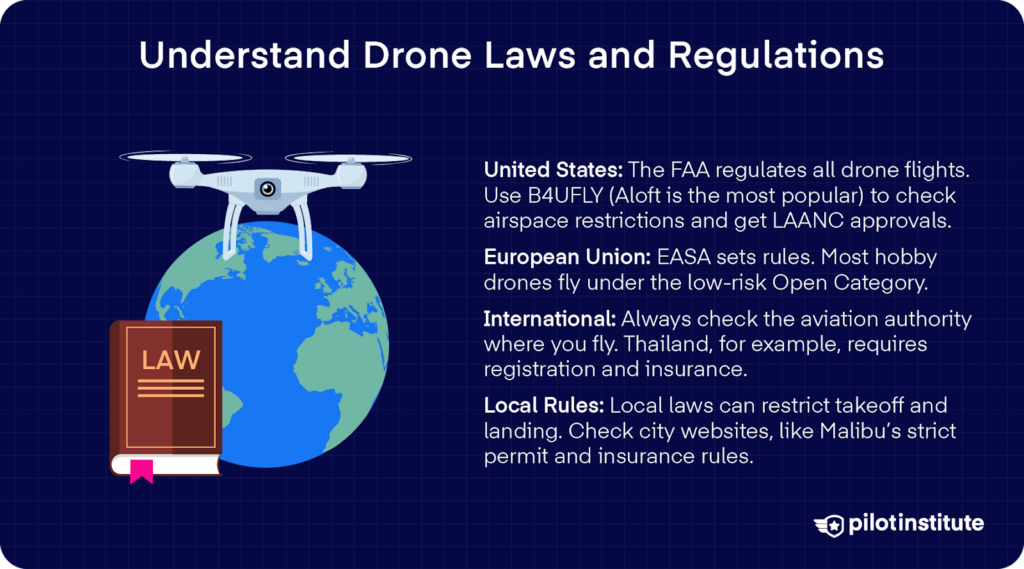
United States
In the United States, the Federal Aviation Administration (FAA) is responsible for regulating all aspects of civil aviation, including drone operations.
The FAA’s B4UFLY service is a rich source of information to check for federal, local, or temporary airspace restrictions. It provides situational awareness for UAS pilots, allowing them to safely navigate airspace and share the skies with other aircraft.
B4UFLY services are available on mobile and desktop applications provided by approved service providers Airspace Link, Aloft, AutoPylot, Avision, and UAS Sidekick.
Aloft is the most popular among UAS pilots because it offers a user-friendly interface, real-time airspace awareness, seamless integration with FAA data, and easy Low Altitude Authorization and Notification Capability (LAANC) approvals.
European Union
The European Union Aviation Safety Agency (EASA) oversees the development and enforcement of airspace regulations, including drones, to ensure safe and standardized aviation practices throughout the EU member states.
EASA categorizes drone operations based on risk, with “Open” as the lowest risk, “Specific” having increased risk, and “Certified” having the same risk level as manned aviation. Most recreational and low-risk commercial flights fall into the Open Category.
International Aviation Authorities
Elsewhere in the world, other aviation authorities set and enforce regulations on drone operations. It is always important to check your National Aviation Authority’s website for more details on flight restrictions or other requirements.
Traveling abroad and want to bring your drone with you? Make sure you check with the aviation authority of the countries you plan on visiting regarding restrictions and additional requirements tourists may need to follow.
For example, the popular tourist destination Thailand requires drone operators to register with the Civil Aviation Authority of Thailand and to hold drone insurance from a Thai insurance agency.
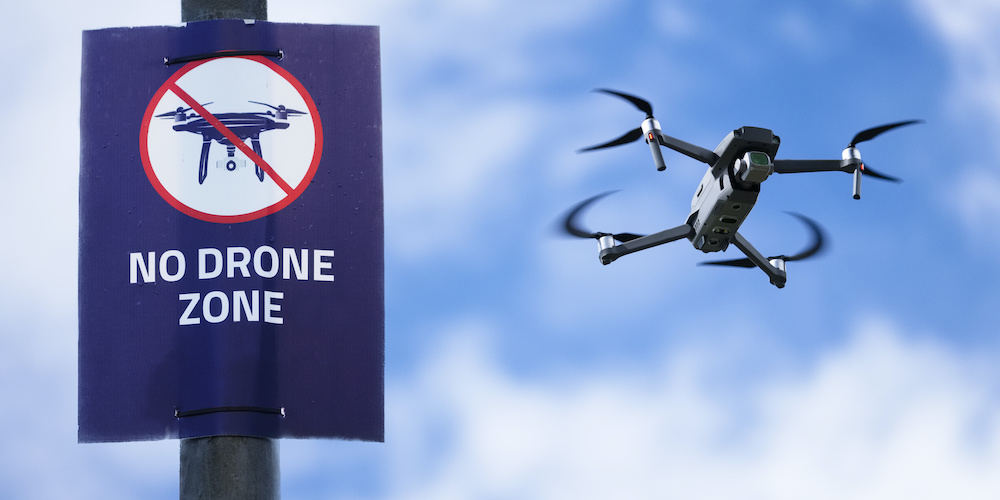
Local Regulations
Although these local municipalities can not assert authority over airspace, takeoff, landing, and other drone operations may be impacted by local laws. These areas are often equipped with a No Drone Zone sign, but it is still the pilot’s responsibility to double-check before flight operations begin.
California has a patchwork of local drone laws that require pilot foresight before flying. Take the increased restrictions in Malibu, where pilots need to file a film permit with the County of Los Angeles and provide proof of $1 million commercial insurance naming the City of Malibu as an insured party.
You can find information about local drone laws by checking your city or county government’s websites, which should list specific regulations covering parks, public spaces, and other restricted zones.
Know Flight Restrictions
Controlled Airspace
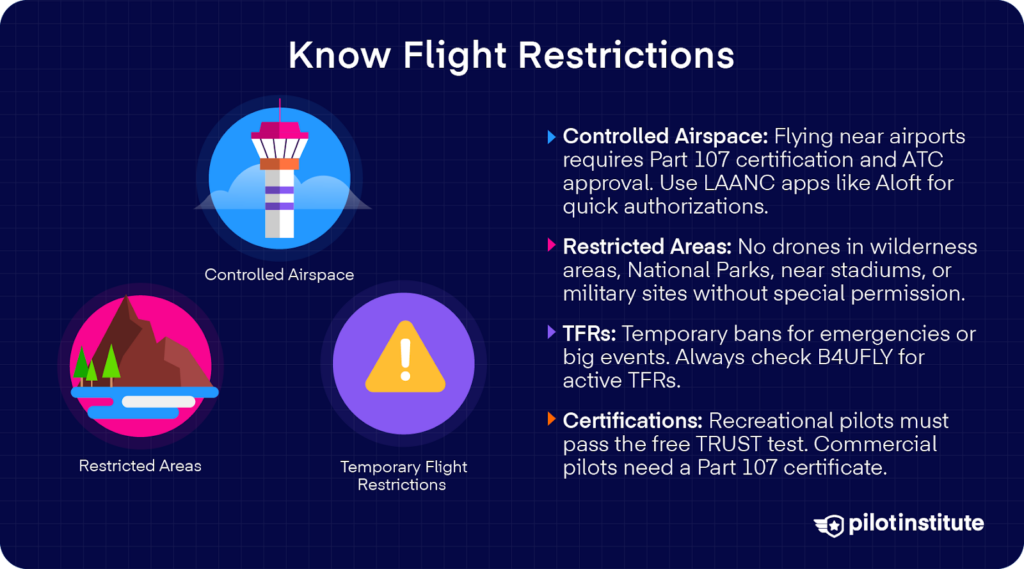
Within controlled airspace, there are heightened restrictions on drone operations. For example, around busy Class B and C airspace, the FAA has strict requirements on UAS flights. Pilots must hold a Part 107 certificate and obtain prior authorization from air traffic control (ATC).
Pilots looking to fly in controlled airspace can submit a request for Low Altitude Authorization and Notification Capability (LAANC). Today, applying for LAANC approval is fast and easy, using mobile apps like Aloft to get instant approval on the go.
Restricted Areas
Wilderness areas designated by the National Wilderness Preservation System and National Parks are typically off-limits for drone operations, unless pilots seek special permission or an FAA waiver.
There are also restrictions for flights over sensitive areas, including sports stadiums or military installations.
Temporary Flight Restrictions (TFRs)
The FAA often issues Temporary Flight Restrictions (TFRs) to protect the public or property during temporary emergencies, special events, or high security scenarios. For instance, a TFR may be initiated because of a major sporting event like the Super Bowl, a natural disaster like a wildfire, or presidential movements.
The FAA’s B4UFLY system is a useful resource for checking for TFRs, where mobile apps like Aloft can easily keep pilots informed, even on the go.
Required Knowledge Tests/ Certifications
Under 49 USC 44809, recreational pilots must pass The Recreational UAS Safety Test (TRUST). The free test aims to educate recreational drone operators on basic airspace rules and safe flying practices.
Pilots flying in a commercial capacity are required to hold a Part 107 Remote Pilot Certificate, which involves passing a knowledge test that covers airspace regulations, weather, drone mechanics, and safety procedures.
2. Register Your Drone (If Required)
In the United States
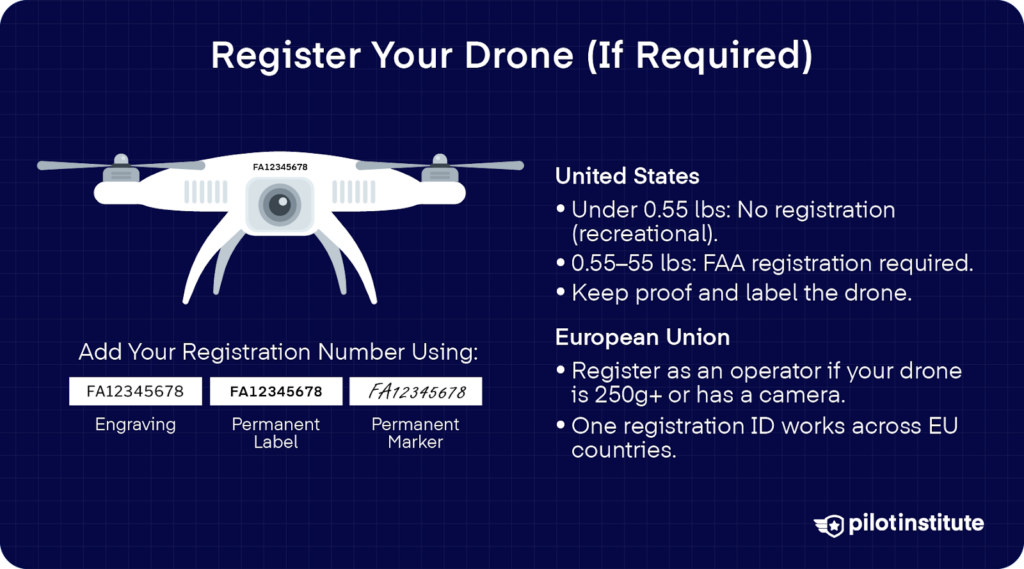
Drones weighing less than 0.55 lbs (250 grams) do not need to be registered with the FAA when flown recreationally under the Exception for Limited Recreational Operations.
Those weighing more than 0.55 lbs (250 grams) but less than 55 lbs (24.95 kg) require FAA registration. One must be 13 years or older and a U.S. citizen or legal permanent resident to register.
Foreign operators still need to obtain a certificate for their drones, but the FAA sees this as a certificate of ownership, rather than of aircraft registration.
Pilots can register their drones through the FAA’s DroneZone website. It only costs $5 to register a drone for three years. Registration must be kept on hand, and the registration number displayed on the drone’s exterior.
In the European Union
If flying in an EU country, the EASA requires registering as a drone operator to receive a registration ID that can be carried across member states.
Drone operators are expected to register their UAS with the National Aviation Authority of their home country. For foreign drone operators, pilots can register their drones with the aviation authority in the first EASA country they will fly in.
Registration is required for the drone operator, not the drone itself. You must register as an operator if your drone weighs 250 grams (.55 lbs) or more. Operator registration is also required if the drone is equipped with a camera, regardless of weight (unless it qualifies as a toy under Directive 2009/48/EC).
3. Read the User Manual Thoroughly
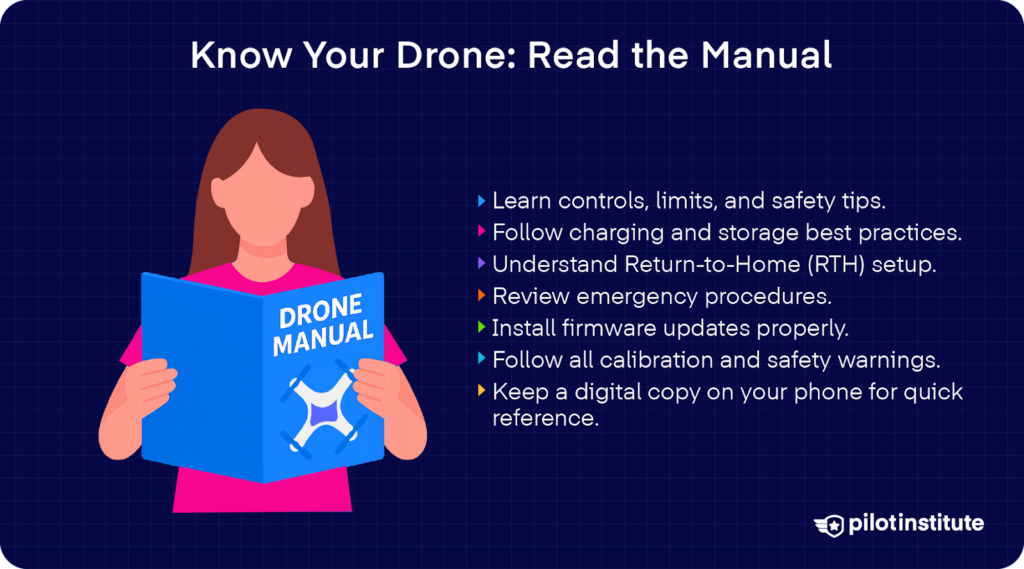
Thoroughly read the owner’s manual to learn your drone’s controls, capabilities, limitations, as well as the best practices for maintenance and safety protocols.
User manuals explain proper charging and storage practices to extend battery life.
Manuals also help break down Return-to-Home (RTH) functions to seamlessly set and activate RTH.
Manufacturers will also provide advice for emergency procedures in case of a signal loss or other malfunction.
How to download and install firmware updates is also available within your drone’s user manual.
Manufacturer-specific guidelines or warnings should be well understood and followed during flight operations. For example, some drones require specific calibration steps before flying.
One key tip is to keep a digital copy of your user manual on your mobile device for quick reference while out in the field.
4. Charge Batteries and Prepare Equipment
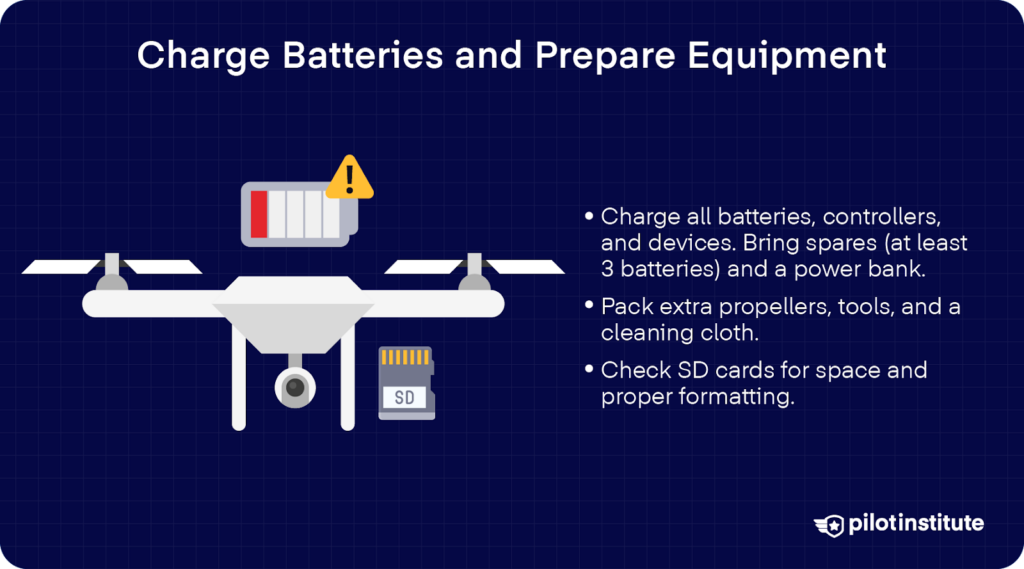
Having to rush a flight because you only have a certain amount of juice is frustrating and completely preventable.
Fully charge the drone’s batteries, including a few spares. Many pilots bring at least three batteries per operation, depending on the operational goals and the power capacity of their UAS.
Similarly, bringing extra propellers makes it easy to switch out damaged ones in the field.
Charging is not just for the batteries, but also for the controller, mobile devices used in flight, and any other necessary accessories. If you rely on your phone to operate your drone, as is the case with many DJI models, ensure that it is fully charged before heading out. Bringing a power bank along is always worth the effort.
Check that all SD cards are formatted correctly and have enough space. No pilot wants to be mid-flight, only to realize their SD card is full!
Essential tools like screwdrivers help deal with any on-the-go replacements. A cleaning cloth will help keep lenses and sensors clean, ensuring better image quality.
5. Update Firmware and Software
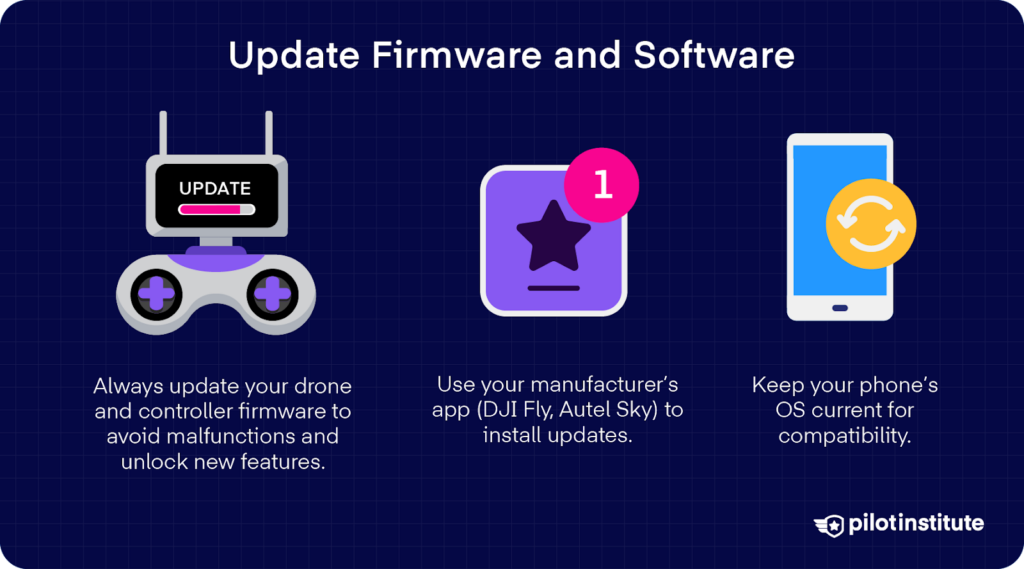
Firmware updates are critical to the technical health of your drone. They often include important patches to prevent security concerns or malfunctions. Running the most current firmware can also open up opportunities to add new features.
Typically, the process involves connecting your drone to the manufacturer’s app. For DJI drones, this is the DJI Fly app. If you have an Autel Robotics drone, like an EVO series, Autel Sky is the app for you.
Once connected, firmware update notifications prompt you to download and install the latest version. Follow the on-screen instructions to ensure the process runs smoothly. You can always manually check for updates through the settings or firmware section of the app.
Failing to update firmware before flight may result in compatibility issues or even flight restrictions. Some drones, like DJI models, may not be able to take off until mandatory updates are installed.
It’s important to keep your mobile device’s operating system up-to-date as well. Outdated operating systems can mean your device is no longer compatible with the drone manufacturer’s app.
6. Perform a Pre-flight Inspection

Preflight checks must be part of the process. Inspect propellers and other essentials, making sure they are packed and in good condition.
A pro tip is to use a preflight checklist to ensure you don’t forget anything. You can make your own or download a premade one.
Some pilots prefer printing their lists to have a more tangible, hands-on experience during preflighting. Having a digital checklist can streamline the process. Some drone apps even offer a built-in preflight checklist. A lot of pilots build their own checklists using productivity apps like Notion.
Airframe
First, check the body of the drone for cracks, dents, or loose parts. Test out all arms, propellers, and landing gear to ensure they are secure. According to the FAA, this should include the undercarriage and linkages.
Propellers
Replace any propellers that are cracked or even slightly nicked. Damaged propellers can increase the risk of a crash and even affect gimbal performance as the drone struggles to remain stable.
When replacing propellers, ensure they are securely attached and properly oriented. Having tools on hand can make this process easier.
Gimbal and Camera
Delicately move the gimbal along its axis, ensuring that it moves freely.
Clean the camera lens with a microfiber cloth. Depending on the amount of sunlight, install an ND filter to reduce overexposure.
Batteries
Proper installation is important, so check your user manual so batteries fit snugly as they should.
Batteries should also be inspected before a flight. Check for any selling, leaks, or other damage to avoid a catastrophe mid-flight.
Sensors
Along with camera lenses, clean the obstacle avoidance sensors for smooth flight operations. Refer to the drone’s user manual to locate all necessary sensors.
Lights and Indicators
Ensure all navigation and status lights are functioning. This includes anti-collision lights “prior to any flight that will occur during civil twilight or at night,” according to the FAA (AC 107-2A, Chapter 5).
7. Calibrate Compass and Sensors
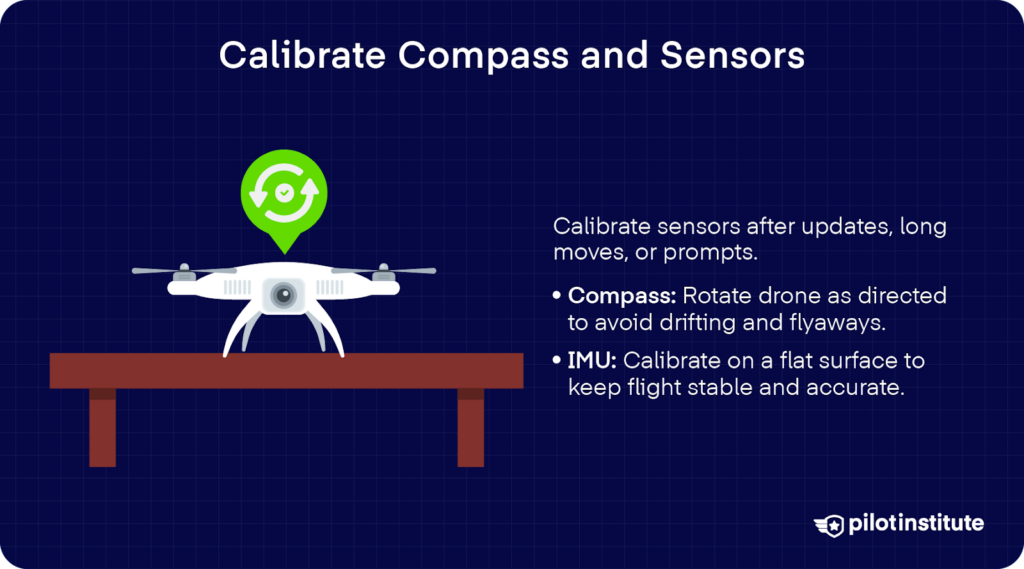
Keeping sensors accurate often requires calibration. This may not have to be done before every flight, but it should be done when flying in a new location far from your last flight, after firmware updates, and when the drone manufacturer app prompts you to do so.
Any calibration should be done in an open area, away from metal structures and any potential electronic interference.
Compass Calibration
Your drone relies on its compass to understand direction and maintain stable flight. Miscalibration can lead to drifting, incorrect return-to-home functions, and even flyaways.
The process typically involves accessing the compass calibration feature in the drone’s app or controller settings.
Follow the instructions on the screen. You will typically be prompted to rotate the drone horizontally and vertically, most often in full 360-degree circles.
IMU Calibration
Inertial Measurement Unit (IMU) calibration keeps the drone’s internal measuring units accurate, helping avoid collisions, increasing stability, and enhancing positioning. The IMU is essentially the brain, providing critical data about the position, orientation, and movement of the drone.
Improper IMU calibration can cause orientation inaccuracy, flight instability, drifting, reduced maneuverability, and even degraded battery efficiency.
To calibrate the IMU, place the drone on a flat, level surface. Power the drone on and navigate to the calibration menu.
After selecting IMU calibration, follow the instructions presented on screen. Keep the drone stable and wait for the process to complete.
Some drones may also require restarting before calibration is complete.
8. Plan Your Flight and Check the Weather
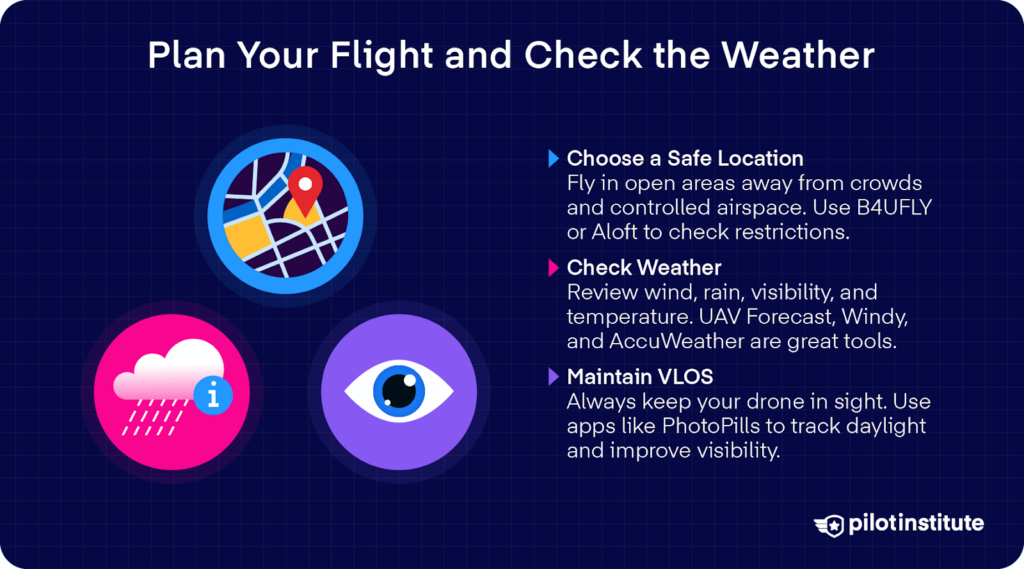
Select a Suitable, Legal Location
The first step in successful flying is vetting a suitable, legal location. Beginners should look for open fields and avoid crowded areas to minimize obstacles. Avoid controlled airspace and other restricted areas.
FAA’s B4UFLY service is a rich source of information on airspace restrictions, TFRs, and NOTAMs. Apps like Aloft provide tons of location data to choose a suitable location.
Check Weather Conditions
Check local weather conditions at your chosen flight location the day before and the day of planned operations.
Review wind speed; high winds can make control difficult and reduce battery efficiency.
Precipitation, such as rain or snow, can damage critical components of your drone, especially lithium-based battery systems.
Also note visibility. For Part 107, the FAA requires a minimum of three miles of visibility from your control station.
Temperature can also greatly impact flight performance. Extreme cold or heat can affect battery efficiency.
Fortunately, several weather apps have become staples for drone operators.
UAV Forecast has both web-based and mobile options for detailed weather information, including wind, temperature, precipitation levels, and even the number of GPS satellites visible for your chosen area. Paid subscriptions offer detailed forecasts, but there are free options that provide three-hour weather windows.
For detailed wind forecasts and data, Windy is available both as a mobile app and on a desktop. It provides easy-to-read maps and in-depth wind information taken from local weather stations.
AccuWeather is a strong, comprehensive option that offers real-time weather data.
Obstacle Avoidance and VLOS
The best way to avoid unwanted encounters with obstacles is to keep your drone within your visual line of sight (VLOS). This is a fundamental FAA requirement for both recreational and commercial flights (unless a specific waiver is granted). VLOS means the remote pilot or designated visual observer must be able to see the drone with their eyes at all times.
It is easier to maintain VLOS during daylight hours. Keeping track of the sun’s position and sunset times is also important. Avoid flying into the sun to improve visibility.
Photographers love the app PhotoPills for keeping track of sunrise, sunset, and civil twilight times. You can even preplan shoots months in advance with their detailed sun positioning data.
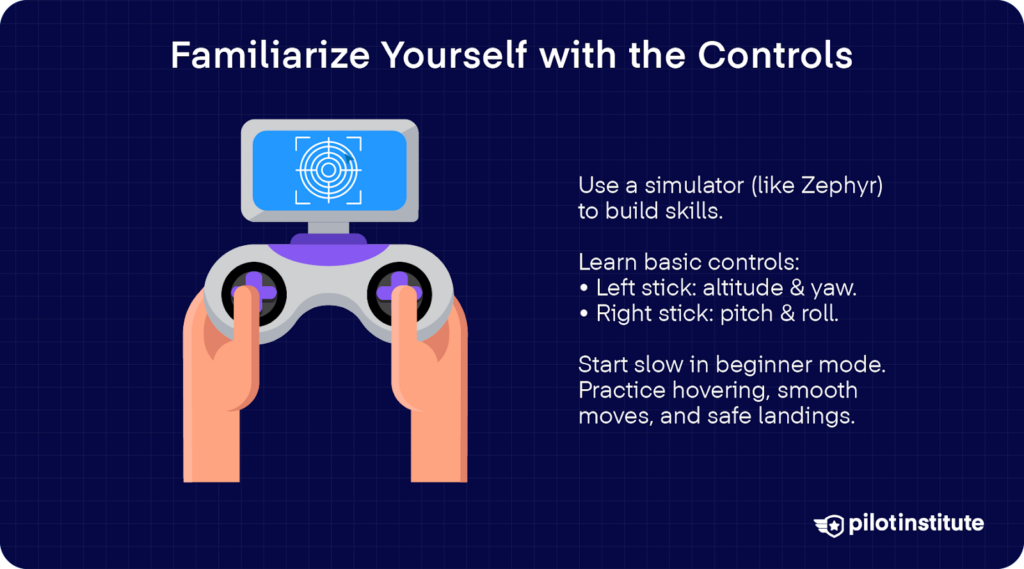
9. Familiarize Yourself with the Controls
Practice with a Flight Simulator
Practice can be fun! Use a flight simulator to improve your understanding of flight operations and make you more comfortable on your first day out.
One favorite is Zephyr Drone Simulator, which is often used by drone instructors and flight academies.
Familiarize Yourself with Basic Controls
Most drones on the market have basic controls that should be familiar to you before your first takeoff. Here’s a basic breakdown:
- Left Stick (Throttle/Yaw)
- Up/Down movements serve as the throttle, increasing/decreasing your drone’s altitude.
- Left/Right movements rotate the drone’s nose to the left or right (yaw).
- Right Stick (Pitch/Roll)
- Up/Down movements move your drone forward and backward (pitch).
- Left/Right movements move your drone to the left or right (roll).
Start Slow and Practice, Practice, Practice!
Rome wasn’t built in a day. Don’t pressure yourself to master the art of flying right away.
Start in your drone’s beginner mode, which often limits max altitude and distance, as well as reduces control sensitivity.
If your drone offers on-screen tutorials, take advantage of them to get hands-on training from the manufacturer.
Take your time to practice basic maneuvers at low speeds and altitudes. Practice hovering, or maintaining a stable position.
Perfect basic movements, like moving in straight lines and gentle curves.
Practice smooth takeoffs and landings to feel secure from the beginning to the end of your flight.
Take advantage of your drone’s return-to-home feature and pause functions.
10. Know the Emergency Procedures

Common Issues
Loss of signal is a common issue that can result in malfunction or flyaways. If you are flying in an environment with low GPS satellite connections, your drone can lose signal connection to your controller.
Setting an automatic return-to-home function can prompt a drone to fly back to the last set location, saving it from landing in an otherwise undesirable location.
When a drone’s battery gets too low, it can result in the drone landing or losing power mid-flight, potentially causing an accident or flyaway. Fortunately, most drones feature low battery warnings and an automatic RTH function if the battery level gets lower than a certain point, 20% for most DJI models.
Additionally, compass errors can cause in-flight issues. If you receive a compass error, land immediately and recalibrate before the next flight.
Utilizing the Return-to-Home (RTH) Function
While the RTH function can be a lifesaver, it still requires some preparation. When you get to your flight location, set an appropriate RTH altitude to clear obstacles to avoid hitting trees or buildings as the drone returns to its last RTH location.
Test the RTH function in a safe environment to learn how it works.
Regaining Control
Pause the drone with a pause or hover function.
Try switching to a different flight or controller mode. For DJI models, if flying in Sport mode, try switching to Normal or Cine mode.
Check for signal interference from other devices.
Most importantly, stay calm! Keeping a level head allows you to recall key fail-safes and safety procedures.
A key tip here is to keep emergency contact numbers handy, such as local aviation authorities, ATC, or law enforcement. In the event you cannot regain control, you can take the necessary steps to communicate the emergency to the appropriate authorities.
Conclusion
By following these 10 essential steps, you are setting yourself up for a successful and stress-free flight.
New pilots, don’t be embarrassed to revisit this checklist before each flight as you continue to build on your skillset.
Your first drone flight is the beginning of an exciting journey. Start it right with these essential steps, and you will be well on your way to increasing your confidence and competency as a drone pilot.