-
What’s a pre-flight inspection for?
-
The important parts of a pre-flight inspection checklist
-
THE DAY BEFORE
- Check the weather
- Charge your devices
- Updated firmware and app
- Format your SD cards
- Inspect for damage
- Flight area
- Drone News Update
- Check for NOTAMs
- Secure the relevant authorizations/unlocks
- Pack your gear
-
RIGHT BEFORE TAKING OFF
- Drone News Update
- Check the wind speed
- Take note of flight hazards
- Make sure that propellers and batteries are installed properly
- Remove the camera lens cover and gimbal clamp
- Startup your drone
- Check communications between the drone and controller
- Check GPS satellite reception
- Set a home point and altitude for RTH
- Warn spectators (if possible)
-
UPON TAKEOFF
- Take a photo and record a clip
- Test gimbal motion
- Hover in place
- Test roll, pitch, and yaw
- Test gaining and reducing altitude
-
How about a post-flight inspection?
-
Final thoughts
If there’s one thing we can pinpoint as the biggest reason for drone crashes, it’s the failure to check if the drone is in proper working condition before starting flight operations. For this reason, the FAA and most of the drone community highly recommend having a pre-flight inspection checklist.
What we’re NOT going to do in this article is to give you a prepared pre-flight inspection checklist. Instead, we’re going to highlight all the necessary parts of one and task you with coming up with your own. Writing your own checklist is easy when you understand its importance.
What’s a pre-flight inspection for?
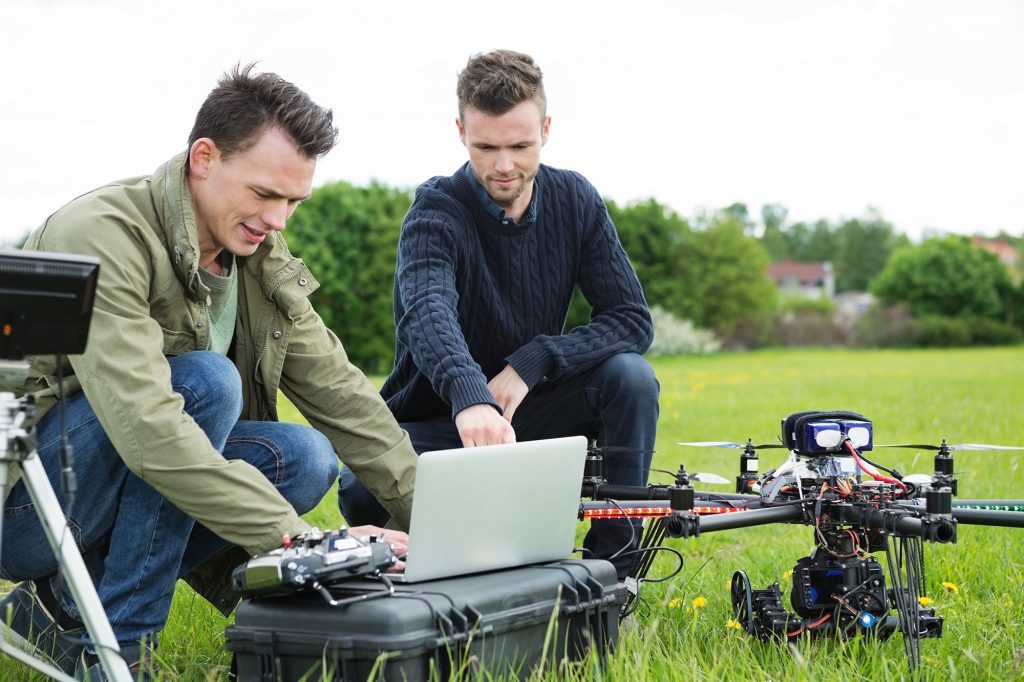
Where to start? If you were to take a look at the cockpit of a commercial aircraft before takeoff, you’re likely to see the plane’s pilots going through an exhaustive checklist. They will be flipping switches, looking at monitors, asking each other questions, and writing down a lot of information.
The reason why pilots spend so much time doing the pre-flight inspection is the fact that there is very little room for error once an aircraft takes off. It’s a lot better to spend some time on the ground finding minor errors and correcting them than getting caught by surprise when the aircraft is already airborne.
However, one might argue that the consequences of a drone crash are minimal compared to that of a manned aircraft. While that’s true, determining the effects of a drone crash is also a very unpredictable matter. It can crash on someone’s roof and damage it, or it can crash on a freeway and cause a massive car crash. A drone falling from 200 feet onto someone else’s head will almost certainly result in a trip to the hospital – at best.
As an airman acknowledged by the FAA, it is the responsibility of the drone pilot to maintain the safety of national airspace as well as the people and property on the ground. Doing a pre-flight inspection is simply one of the safety measures – and one of the easiest – that the drone pilot is expected to make.
The important parts of a pre-flight inspection checklist
As mentioned, this article will only highlight the most important parts of the pre-flight inspection. It is up to you to come up with the most suitable checklist depending on the type of drone you are flying, your skill level, and whether you are flying professionally or recreationally.
To simplify the pre-flight inspection process, we’re separating them into three distinct phases – things you’ll have to do the day before the flight, right before taking off, and upon take-off.
THE DAY BEFORE
These are the things that we recommend doing the day before you’re setting out to fly your drone, simply because they can take a bit of time. If something comes up during this phase, you can still change your plans or reschedule your flight to another day.
Check the weather
The first factor you’ll need to consider is the one that you have the least control over – the weather. Just do a quick check of the weather forecast for the time and day of your planned operations. Flying your drone in heavy rain is out of the question. You can still fly with a slight drizzle, but that all depends on how comfortable you are with the idea.
Charge your devices
Make sure that all electronic devices needed for the flight are charged. These include your drone’s batteries, any spare batteries, remote controller, and any smart device that you will use as a telemetry monitor. If you have portable power banks and rechargeable batteries, make sure to charge those as well. It would make sense to write a list of these devices and incorporate that list into your pre-flight inspection checklist.
Updated firmware and app
Do a quick check on your drone manufacturer’s website if all necessary firmware is updated. This includes the firmware of the drone, remote controller, smart battery (if necessary), as well as the companion mobile app. For completion’s sake, you can write down the version for all the relevant firmware versions.
Format your SD cards
If you’re planning to take lots of photos or videos, then you need to make sure that you have enough storage space. You should already have several SD cards by now. All you need to do is to format them all to prepare for your flight. If necessary, unload all the content of your SD cards into your computer or to cloud storage.
Inspect for damage

While you still have the option of backing out, take a few minutes to inspect the body of your drone and its accessories for any obvious signs of damage. Pay special attention to the propellers, as they can easily crack. You might also want to check the battery for any signs of swelling or large dents. If you have any uncertainties about the mechanical integrity of your battery, then it’s best to use a spare one.
Flight area
Define the flight area for your planned operations. While writing down a rough location is fine, it would be best to delineate a specific section. This will serve as your reference for checking if you’re flying near any patches of restricted or controlled airspace.
Check for NOTAMs
Even if your flight area seems to be all clear based on sectional charts, you may still need to check active NOTAMs for any irregular restrictions. These can range from military exercises to crowd-drawing events.
Secure the relevant authorizations/unlocks
Should your planned flight area overlap with controlled airspace, then you will need to secure airspace authorization from the FAA. Although the LAANC system allows for near-instant responses to airspace authorization requests, there’s also no good reason not to do the request the day before your planned operations. If you own a DJI drone with the GEO feature, you may also need to do a Custom Unlock to guarantee that your drone takes off at all.
Pack your gear
You’ve gone through all the trouble of making sure that your gear is ready, so take a bit of time to make sure that they are all inside your carrying case or bag. It would also be nice to have a checklist for this part, so you don’t forget anything.
RIGHT BEFORE TAKING OFF
Once you’ve established a take-off point and have all your gear ready, these are the final checks you need to make. These involve mostly inspection of the drone components and ensuring that they are properly installed. You should also do a final assessment of the hazards of your flight area.
Check the wind speed
If it feels exceptionally windy, you may want to reconsider your plans especially if you’re flying an ultra-portable drone. You should be able to get an estimate of the current wind speed using a flight planning or weather forecasting app. Write this down and compare it to the maximum wind speed designed for your drone. If you must, wait for the wind to die down. It is not wise to push your drone to its limits.
Take note of flight hazards
If you have not staked out your flight area before, take a few minutes before taking off to identify and locate any potential hazards. This could include tall objects like trees and buildings, as well as ground-based hazards like bodies of water or any nearby crowd of bystanders. We recommend writing these down in your checklist, as well.
Make sure that propellers and batteries are installed properly
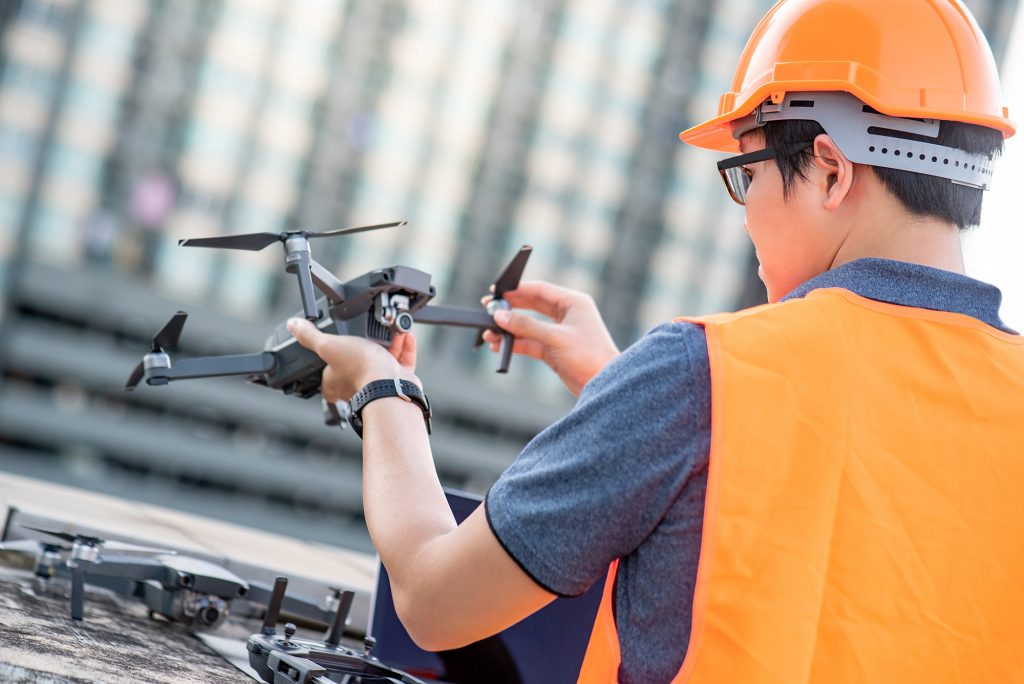
Install all propellers and the battery to your drone, double-checking that they are latched on properly and will not come loose when the drone moves.
Remove the camera lens cover and gimbal clamp
If you transported your drone in a carrying case, then it likely comes with a lens cover and gimbal clamp. Make sure to take these off. Running the drone initialization program with the clamp still installed risks damaging the gimbal.
Startup your drone
Power up your drone. At this point, it should go through a standard initialization process where it checks that all sensors and systems are working properly. The gimbal will also start moving to verify unhampered motion in all applicable axes. If you encounter any problems in this step, write them down on your checklist so you’ll remember.
Check communications between the drone and controller
Turn on the remote controller and make sure that it connects to the drone without a hitch. You likely won’t run into any communication problems at this point unless your firmware has not been updated.
Check GPS satellite reception
With your remote controller paired to the drone, check the quality of your drone’s GPS signal reception. If you need to take a few minutes for the signal to stabilize, do so. You will want to place your drone in a wide-open space to make it easier to get a GPS fix.
Set a home point and altitude for RTH
Once you get a GPS fix, it’s time to set a home point for your drone’s return-to-home (RTH) feature. This is typically the same spot as the take-off point unless you plan to move around while flying the drone. Straying too far from the take-off point is not recommended, especially if your flying alone. It is equally important to set an altitude for the drone to fly once RTH kicks in. Take note of any nearby tall obstacles and make sure that your drone can clear those should it need to fly automatically.
Warn spectators (if possible)
So far, you should already have spent a few minutes setting up your drone. There’s a good chance that you have a couple of bystanders or spectators nearby who are curious about what you’re doing. We recommend warning them against standing right below your drone and to refrain from distracting you while you fly. We recommend having a companion deal with these spectators.
UPON TAKEOFF
When your drone successfully takes off, resist the urge to zoom off right away and do a final check of your drone’s controls. It’s best to do this at low altitudes – even just five to ten feet off the ground should suffice.
Take a photo and record a clip
The first thing to do is to snap an image and record a clip, just to make sure that your camera is working properly. We like doing this first because it’s the easiest.
Test gimbal motion

Depending on the gimbal of your drone, you may have to test two or three axes of motion. Try and hit the physical boundaries for each axis, taking note if you are observing any abnormalities in how quickly they are responding.
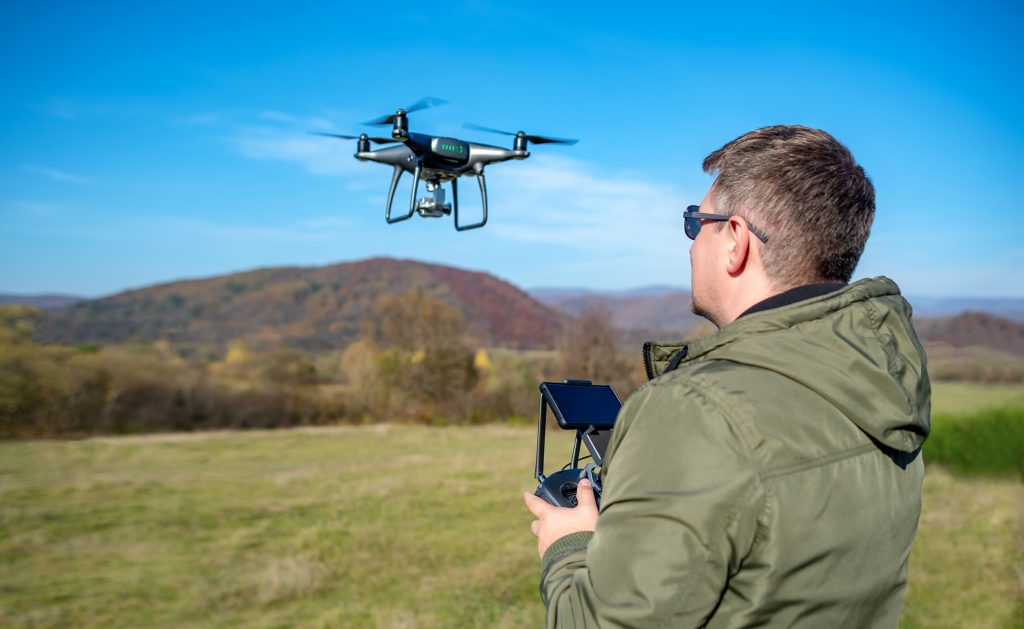
Hover in place
For drones with GPS stabilization, the ultimate test of GPS signal quality is to have the drone hover in place. Ideally, a drone can maintain a stable hover without user input. Do this for twenty to thirty seconds,
Test roll, pitch, and yaw
The propulsion of a quadcopter depends largely on its flight controller working normally. To test this, simply do a quick exercise of the drone’s roll, pitch, and yaw maneuvers. You can come up with your own set of movements, but make sure that each motion is done in both directions. Don’t go too fast – you’re still doing a pre-inspection, after all, and would not want the drone to fly too far away.
Test gaining and reducing altitude
The final test is for the drone to simply move up and down. Try and maintain a maximum of only 15 feet for the testing.
If everything seems fine, then you can proceed to your planned drone flight. Take note that you may need assistance in filling out the checklist once the drone has taken off. If you have a companion, it would be best to delegate this task.
How about a post-flight inspection?
Although it is not standard practice, many drone pilots recommend doing a post-flight inspection anyway. It doesn’t have to be complex or as systematic as your pre-flight inspection. A cursory check for any signs of damage should be enough, especially if you had a few bumps and scrapes during your flight. It’s best to discover these now while you still have time to do repairs than right before your next planned drone operations.
Final thoughts
There is value in doing a pre-flight inspection for drone pilots, whether beginners or experts. As licensed pilots probably know, it can be easy to miss a few things when you don’t write them down – even if you’ve gone through the same motion hundreds of times before. Once you get used to it, a pre-flight inspection is really just a small chore that provides tremendous value in terms of safety.