A huge factor in what makes modern drones so appealing is that they are very powerful photography tools. Equipped with high-resolution cameras and smart features, drones can take photos and videos from angles that simply weren’t possible before. This peculiar characteristic has also made them valuable tools for commercial advertising.
Real estate marketing is only one of many fields that have been blessed by the development of drone technology. The benefits of aerial photography are two-fold – it works both for real estate agents and potential clients. If you want to offer your services as a commercial drone pilot for real estate photography, here are some tips for making those photos pop.
Cover the basics
We would like to focus on specific tips for when you are already out doing a shoot, so let’s get the basics out of the way quickly. Before you even think about offering your drone photography services to real estate agents, make sure to have these checkboxes ticked:
- Earn your Part 107 remote pilot certificate from the FAA. This is the legal document that proves that you have been granted privilege by the FAA to offer commercial drone services and are bound by their rules, restrictions, and standards.
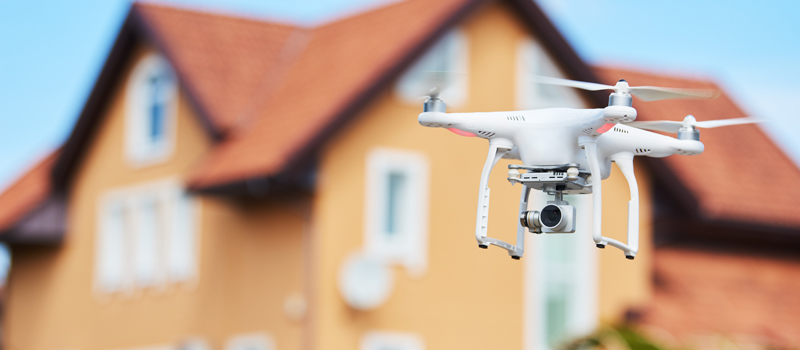
- There are now a lot of excellent camera drones that can be used for real estate photography, so it’s tough to go wrong. At the minimum, you will need a drone with a 3-axis gimbal, a camera that can shoot 12 MP photos and 4K videos, and the ability to shoot in RAW format. Having compatible ND filters would also be a nice bonus.
- Don’t forget to register your drone with the FAA and to mark the drone with the unique registration number. All drones used commercially regardless of size have to be registered individually.
- While no law requires it, it is strongly recommended that all commercial drone pilots get drone hull insurance and liability insurance policies. These will protect you from unexpected financial obligations, should your drone run into an accident. When you’re flying around luxury houses, a good insurance policy could very well save your business.
- Check for local laws that may affect how you proceed with the real estate shoot. Some cities or states may prohibit aerial photography of private properties without the permission of owners, which may be inevitable if you’re taking photos from way up. Do your homework to avoid conflict.
Set the scene
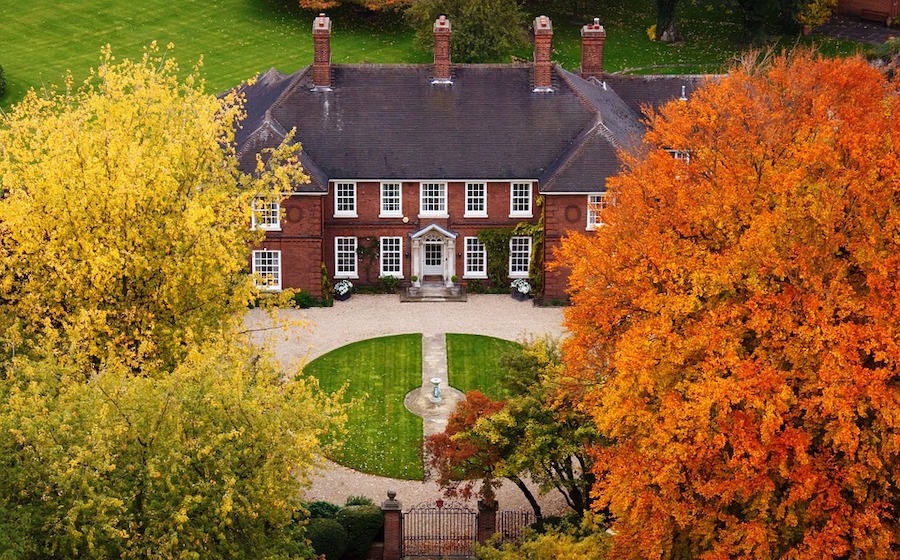
When a product is being photographed for marketing, it typically takes several hours of tweaking and readjusting to get the perfect shots. Professional marketing photos are never truly spontaneous. You need to approach real estate photography in the same way – after all, you are trying to sell that home or building.
Before you start taking photos, take a few minutes to spruce up the property. You might need the help of the real estate agent for this. This could include clearing up the yard, removing vehicles from the driveway, cleaning the roof, or making sure that the lawn chairs are organized. In more extreme cases, some lawn manicuring work might even be necessary to make sure that the photos come out as vibrantly green as possible.
Timing also plays a role here. If the house you’re taking photos of is right beside a busy street, then you might want to shoot on a weekend morning when traffic is generally light. If you have a nearby beachfront, then try and see which time and day has the least number of people walking around on the beach.
If you can make your subject look good in real life, then it’s going to be so much easier to take good photos. Post-processing and creative angles can only take you so far.
Take advantage of natural light
Natural light can be your biggest asset when shooting outdoors, but only if you know how to harness its benefits. Some angles work best at specific times of the day, while the glow of sunset and sunrise can be used to make photos more dramatic.
Noon is an excellent time to take both top-down shots and shots from low angles because the position of the sun minimized shadows. The problem with shooting photos at noon is that the lighting can get a little too harsh. If this is the case, then a pack of ND filters would certainly come in handy. ND filters limit the amount of light entering a camera’s lens, avoiding overexposure and removing the effects of glare.
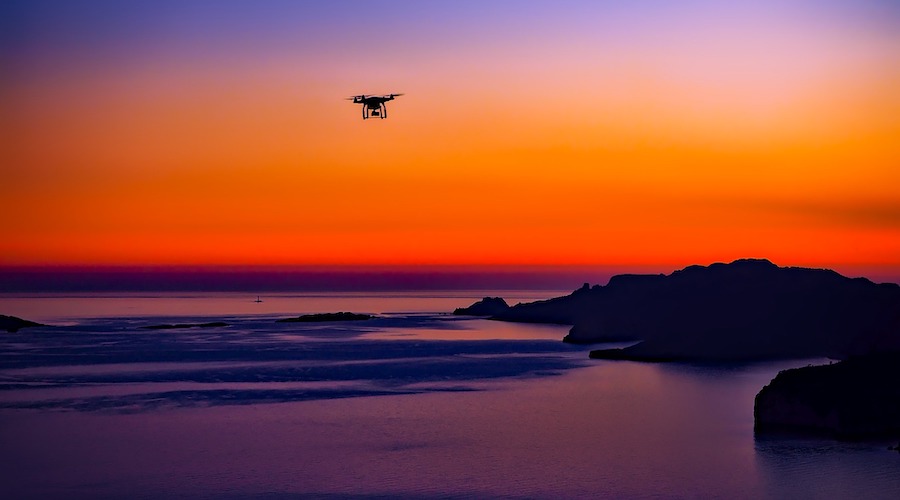
The warm orange color of sunsets and sunrises certainly make for dramatic photos, but they also tend to cast long shadows. When shooting anything under these lighting conditions, always be wary of capturing the shadow of the drone. Even the slightest hint of a shadow can ruin what would otherwise have been a perfect shot.
Choose which parts to highlight
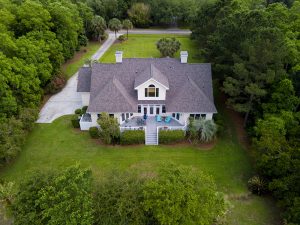
At just about any property, there should always be a part that stands out from the rest. Whether that’s a nice backyard pool or a luxurious rooftop terrace, these exceptionally gorgeous areas will make a great focal point for your photos.
This tip does not imply that there are parts of a property that you should keep hidden. After all, the main point of shooting photos from up high is to show everything. What you can do instead is to make sure that the eye of the viewer is drawn to your highlighted spot in wide shots. You can do this through the use of leading lines, or by simply increasing lighting in that area.
Think of this strategy as identifying the best angle of a model and taking more photos from that angle. It’s not deceptive as it merely highlights things that are already there.
Maintain a good variety of shots and angles
Variety is the spice of life – this applies just as well with photography. With such a massive subject, you should not run out of different creative angles to shoot a piece of real estate property.
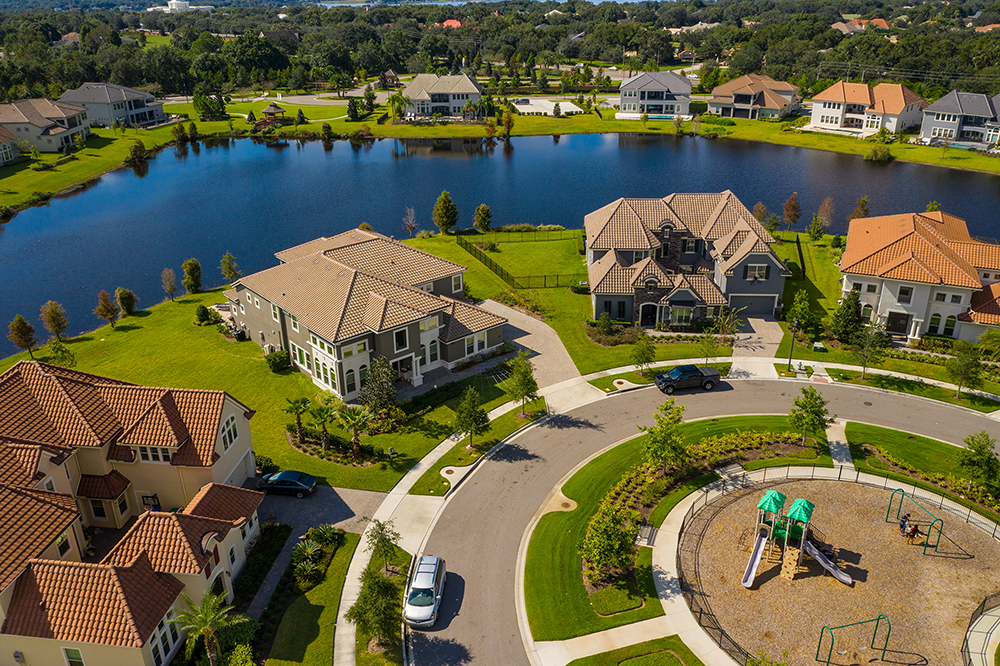
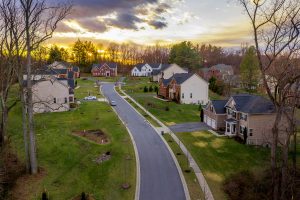
A piece of advice we often hear repeated is to not be limited to shooting photos from way up high just because you’re shooting with a drone. A wide-angle or top-down shot that shows the full extent of the property isn’t as appealing if you can’t show more intimate details such as the plants in the yard or the details in the foyer. Drone shots at just a few feet above eye level are still novel and provide a whole different way to see a property. Hovering at around 20 feet is often a good way to strike balance between scope and level of detail.
Those who have been doing real estate photography for a long time have probably integrated generic angles into their styles. These are their “go-to” shots that they are sure will produce good results. There’s nothing wrong with this approach – all professional photographers and filmmakers probably have go-to techniques. However, there should always be room for creativity.
Shoot in RAW and post-process
Experienced photographers know that about half of the work in photography is done in the editing room. For this reason, it is always recommended to shoot your photos in RAW format (if your camera has that feature) to retain as much color information as possible. The work needed to edit real estate photos should be incorporated in your submission timeline for your clients, as well as the pricing.
Most photographers prefer to use either Adobe Lightroom or Adobe Photoshop for post-processing of photos. Either option works well given that you know how to use them. There isn’t a single exclusively valid approach to post-processing – some clients may prefer vibrant colors, while others prefer the more muted shots with more focus on the white balance. A discussion of the different post-processing techniques will probably take the space of several articles.
Whichever the case, shooting in RAW means that files will be larger than usual. Make sure to have a couple of spare SD cards handy. Shooting in RAW is also better if your drone camera has a high bitrate.
Take more than one copies of your best angles
A lot of things can go wrong when you’re shooting with what is essentially a flying camera. A gust could suddenly blow right at the press of your shutter button, or your camera can catch a glare from a nearby window. When you’re out on the field, it can be pretty tough to focus on image quality as you also have to pay ample attention to flying the drone.
For this reason, we advise that you take several shots as soon as you find the perfect angle. Artifacts from vibration or slight lighting changes may hard to spot when you’re out in the field and can turn out to be nasty surprises in the editing room. It always pays to have a backup, especially since all you need is added space in your SD card.
Learn from the best
This tip deviates from the spirit of this list, as it’s not exactly something you would want to do when you’re already doing a shoot. Nevertheless, it’s just as important to look at what your favorite photographers are doing to gain inspiration. You can probably do this even if you haven’t started offering commercial services yet.
If you truly want to stand out in the real estate photography business, you must be in a constant process of learning and improving. Looking at the portfolios of some of the best drone photographers is one thing, but actually training under them is another. There are loads of how-to videos and online learning courses out there that you can take.
Final thoughts
Real estate photography may sound like a simple thing you can do with your drone camera, but we’ve seen enough bad aerial real estate photos to know that it’s a lot easier said than done. Taking photos with a drone requires a certain level of restraint, maintaining a level of intimacy while not ignoring the drone’s high-altitude photography capabilities.
Real estate photography isn’t exactly the most technical sub-field of commercial drone services but that does not make it any less lucrative. Anybody who has had experience in photography will fit right into this niche. The usual photography fundamentals still work here, you’ll just have to expand your horizons a bit.