-
What to do before your first flight
- Register your drone
- Read your drone’s manual and warranty
- Know the rules
- Know where the no-fly zones area
-
Prepare for your first flight
- 1. Make sure your batteries are charged
- 2. Charge your remote controller and smartphone
- 3. Pack propeller guards and extra propellers
- 4. Find a wide and clear area
-
Basic drone controls
-
LEFT STICK
- Throttle
- Yaw
-
RIGHT STICK
- Roll
- Pitch
-
Practice exercises
- EXERCISE 1: Take-off and landing
- EXERCISE 2: Hovering
- EXERCISE 3: Rotating
- EXERCISE 4: Making turns
- TIP: Practice in Beginner Mode or Headless Mode
-
Final thoughts
Do you want to get a drone but are worried that flying it might be too hard? This is a valid concern – after all, it only takes one crash to turn that thousand-dollar drone into an expensive piece of scrap plastic and metal. The good news is that drones are now easier to fly than ever with the help of modern sensors and transmission technology.
This does not mean that you can simply take your drone out of the box and start flying it in your living room. Depending on the type of drone you get, there may be a few precautions you’ll need to take. Before going on that first flight, here are a few steps we recommend:
What to do before your first flight
Register your drone
If your drone weighs more than 0.55 lbs and less than 55 lbs., you are required to register your drone with the FAA. This applies whether you intend to use the drone to fly just for fun or for commercial operations. For those who want to use their drones for profit, drone registration is needed regardless of its total weight.
Drone registration can be easily done through the FAA DroneZone website. Simply sign up for an account, provide your personal details, and pay the $5 registration fee. If you’re flying just for fun, you only need to register once for multiple drones. Professional drone pilots, however, need to register their drones individually.
The FAA also requires that all drones be marked with the registration number in a manner that is immediately visible upon inspection. You can use a permanent marker or stickers for this.
Read your drone’s manual and warranty
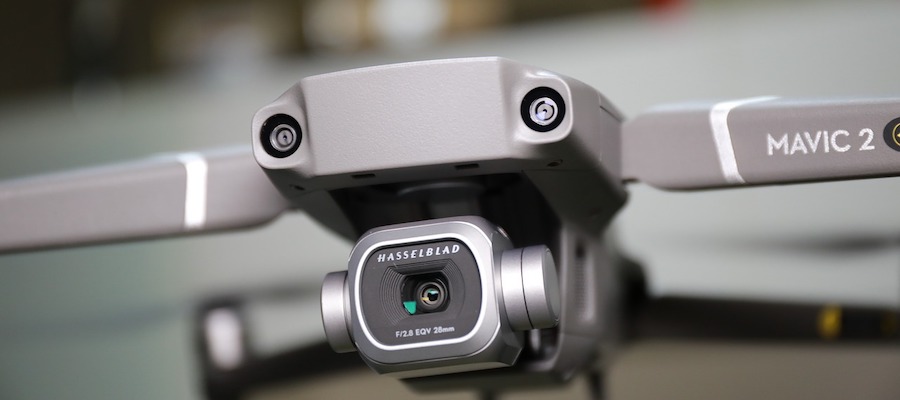
Just like any piece of technology, your drone will come with a manual. The manual should cover just about everything you need to know about the drone – although reading about it and doing it are two entirely different things. You will want to know about your drone’s features, its flight modes, and camera modes, how to charge the batteries, how to install the propellers, and what its built-in limitations are.
Know the rules
Regulation of drone flight is now a lot more serious, so it would be good to take the time to know the rules that you’ll have to follow. If you’re flying for fun, you’ll need to read up on the FAA Reauthorization Act of 2018. For those who want to earn from drone flight, you’ll need to know the legal framework as set by 14 CFR Part 107.
Either way, there are a few basic rules to follow for your first few flights:
- Maintain visual line-of-sight with the drone at all times
- Fly your drone only up to an altitude of 400 feet
- Fly only during daytime
- Yield right of way to any manned aircraft nearby
- Do not fly over crowds or a moving vehicle
- Keep the flight speed below 100 mph
There are other, more nuanced rules, but these will have to do for your maiden flight. You’ll have to do your homework and read up on the more complex flight restrictions.
Know where the no-fly zones area
Not all of national airspace is open for drones to fly around in. These are typically the areas near airports, but there are also areas that are restricted because of military exercises, VIP movement, or sports events. Some of these no-fly zones are dynamic, which means that you need up-to-date information to avoid them.
The best way to avoid flying in a no-fly zone is to use an app that’s specifically designed for this purpose. Good options include B4UFLY and UAV Forecast. These apps helpfully provide a map highlighting the no-fly zones and can also be used to check for temporary flight restrictions (TFRs).
Prepare for your first flight
1. Make sure your batteries are charged
When you receive your new drone, its batteries would probably be in a partially charged state (NOTE: This is the best way to store your batteries long-term). Before you set off on your first drone operations, go ahead and charge those batteries to full capacity. The more practice time you can get, the better.
2. Charge your remote controller and smartphone
Of course, your drone isn’t the only battery-operated device you’re going to get. Make sure that your remote controller is also fully charged, or that you install fresh batteries on it. Depending on the model of your drone, you may have to use your smartphone as the controller or a screen, so make sure your phone is fully charged too.
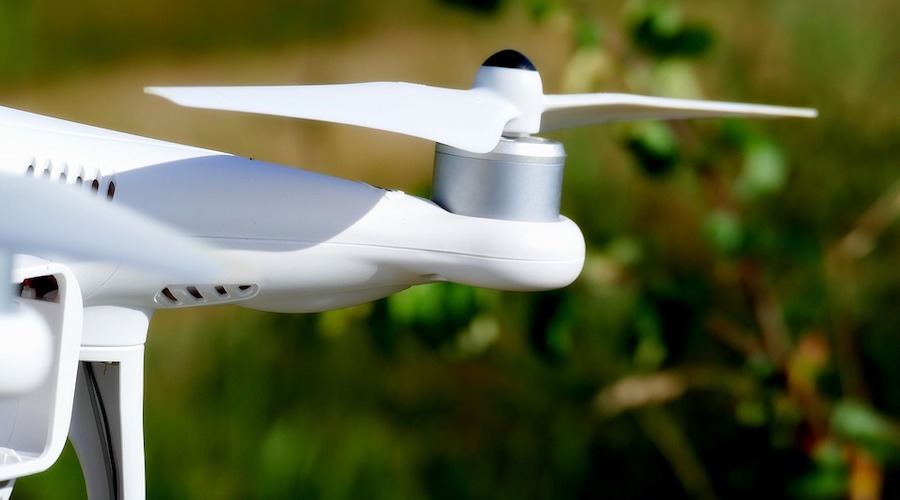
3. Pack propeller guards and extra propellers
Propellers are the most dangerous moving parts of any drone. They could easily cause skin laceration should they come in contact with another person. Since you’re still learning, you might as well use those propeller guards that should come with your drone. If you have spare propellers, bring those as well. Propellers can easily crack or break apart should your drone crash.
4. Find a wide and clear area
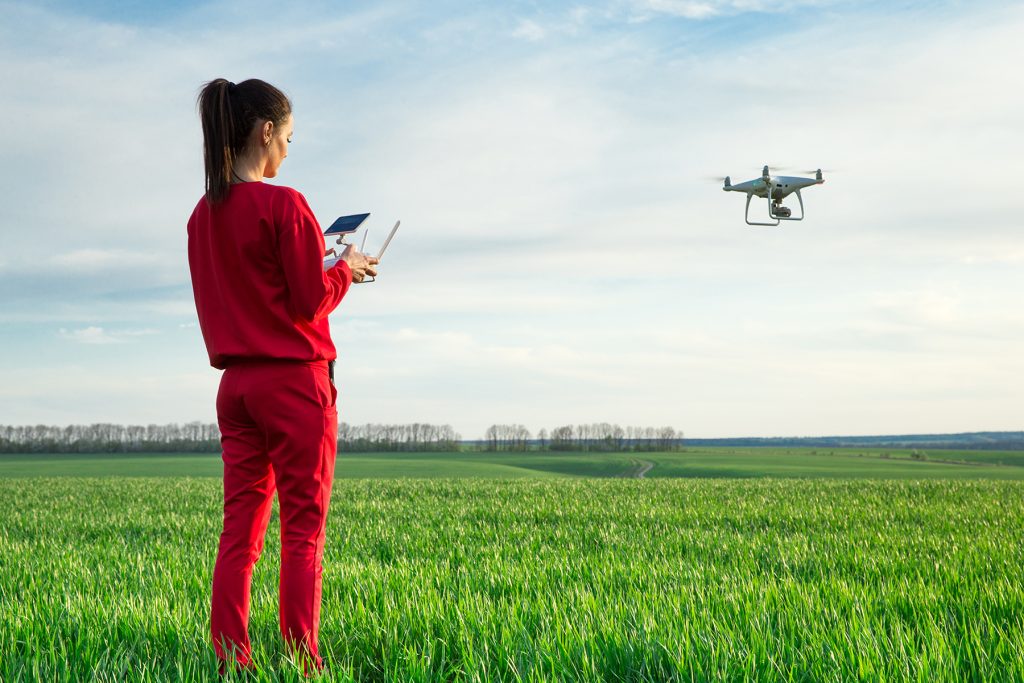
Since this will be your first flight, you should do it in an area that’s free of obstacles. You will also want to avoid flying near any body of water. The middle of an open field would be perfect. Just look for a spot where you won’t run into things and where you can still recover your drone even if it crashes.
Basic drone controls
Depending on the model of your drone, you may be given different control options. Cheap drones typically are only controlled via smartphone with a companion app. Although these app-based controls simulate the way that real remote controllers work, they don’t provide any tactile feedback. The control mechanisms should still be similar.
Most mid-range drones come with a remote controller to which a smartphone can be docked. The remote controller’s analog sticks control the movement of the drone while the phone acts as a screen to display the real-time video feed from the drone’s camera and telemetry data. This is a cheap and convenient middle-ground, although it means that your phone’s battery also needs to be charged whenever you go out to fly.
Finally, the more expensive models provide a remote controller with a built-in LED screen. This eliminates the need to pair your phone with the controller. In most cases, the built-in screen also has better resolution and expands the capabilities of the controller with a touch-screen interface.
No matter which type of controller your drone comes with, it should have a familiar layout highlighting the left and right analog sticks. Both these sticks move along two axes., with each one having different functions.
LEFT STICK
Throttle
Move the stick along the y-axis (vertical) to increase or decrease its throttle. This controls how quickly the drone’s propellers are rotating. When hovering, this will result in the drone either gaining or losing altitude. You can also control how quickly the drone is moving by increasing or decreasing throttle.
Yaw
This rotates the drone along the vertical axis, similar to how you turn your head left and right. You can use the yaw function pan the drone, selecting a direction before making it move towards that direction. This is also useful for taking panning aerial videos and panoramic shots.
RIGHT STICK
Roll
By moving the right stick along the x-axis, you can get the drone to roll left or right. Think of it as the drone leaning on its side to move sideways. This is useful for avoiding obstacles as the drone moves forward without having to change the drone’s altitude. You can combine the roll function with the throttle to influence the speed at which the drone moves toward either side.
Pitch
This controls the forward and backward of the drone and simply done by moving the right stick along the y-axis in the desired direction. This is the primary method of controlling the drone, so you’ll be using the pitch function a lot. Like the roll function, you can influence the speed of the pitch by increasing or reducing the throttle.
High-end drones should also have “trim” levers that can control the sensitivity of the controls. Trim levels are typically provided separately for yaw, pitch, and roll. If you find that any of the movements respond too quickly to your commands, then you can play around with the trim settings.
Practice exercises
Once you’re in your position in your practice flight spot, place the drone on the ground and prepare your remote controller. Make sure to move the throttle stick way to the lowest setting so that the drone doesn’t suddenly fly up when you connect the controller with the drone. Turn the remote controller on.
EXERCISE 1: Take-off and landing
The first thing you need to learn is how to launch and land your drone manually. While most drones have one-key take-off and land buttons, it’s better to not be dependent on these and learn how to do them yourself.
For this exercise, you only need to move the throttle (left stick) up gently. Watch as the drone lifts off until you reach an altitude you’re comfortable with. Lower the thrust to bring the drone gently back to the ground. Repeat this a couple of times until you get a feel for how the drone responds to the controls.
EXERCISE 2: Hovering
When you fly your drone, you will always have to deal with the drone drifting because of the wind. The skill of keeping these under control and hovering in place is essential for capturing aerial photos and videos and if you don’t want your drone to drift away and out of your control.
Again, most drones come with sensors that help it maintain a stable hover. These are usually GPS-aided, although some drones also have optical sensors that can help the drone hover at low altitudes. In any case, we still recommend learning how to make the drone hover in place in case these stabilization systems fail.
Launch your drone to a comfortable level and observe it as it drifts from its original position. Keeping your eyes on the drone, adjust the roll and pitch (right stick) to counteract any movement of the drone due to the wind. You can try pointing the center of the drone’s camera on a specific spot and use this as a reference to determine how well you’re able to maintain the hover.
This can be a frustratingly steep learning curve and is a skill that many drone pilots have never failed to master. Just keep at it and it will start to become second nature to you.
EXERCISE 3: Rotating
Rotating, or panning is a simple matter. Just launch the drone to a set altitude and use the yaw (left stick) function. For an added challenge, you can use this with your hover skills to keep the drone in place while it rotates.
EXERCISE 4: Making turns
Finally, it’s time to make the drone cover some distance. The goal here is to make the drone move along a square-shaped flight path by using different combinations of its movement. In any of the variants, just launch the drone to a comfortable altitude.
In the first trial, the goal is to use the roll and pitch functions separately. Move the drone forward by a few meters, roll the right, move the drone backward, and roll to the left to come back to the original position. This lets you practice how responsive the roll and pitch functions are. You can also combine this exercise with the throttle function to speed up the entire process.
In the second trial, the goal is to get used to how the perspective of the controls changes depending on where the drone is pointed. First, move the drone forward by a few meters. Use the yaw function to rotate 90 degrees clockwise and move the drone forward again by a few meters. Repeat this process until you reach the drone’s original position. Again, you can use the throttle to speed up how quickly the drone moves with the pitch function.
TIP: Practice in Beginner Mode or Headless Mode
If you’re still nervous about flying your drone for the first time, you can check if your drone has either a Headless Mode or a Beginner Mode. These modes were created specifically for beginners and should make the learning process a lot less daunting.
In Headless Mode, the drone will always move relative to its position from the controller. This removes the complexity of having to determine the drone’s orientation whenever it rotates. However, we advise against flying in Headless Mode for too long, as you may end up developing habits that you will eventually need to unlearn. Once you’re comfortable with the controls in Headless Mode, switch back to your drone’s normal mode right away.
Mid-range drones more often come with a Beginner Mode instead of a Headless Mode. This mode doesn’t really offer any special functions aside from limiting how far away the drone can fly and its speed, as well as reducing the gain of the controls. This means that the drone will move a lot slower than normal, creating a great environment for you to practice.
Final thoughts
Compared to the drones of a few years ago, today’s drones are much easier to fly and have features designed specifically for beginners. This does not mean that you can just unpack a new drone and fly it within a few minutes. In the interest of safety, there are a few steps that can help you prepare for your first flight.
If this is your first time flying a drone, then our tips and steps should help you get started. It shouldn’t be difficult as long as you’re not careless. Keep your eyes on the drone and those fingers on the sticks and you should be fine.