-
What Is a Crosswind?
-
Why Is a Crosswind an Issue?
-
How to Calculate the Crosswind Component
- The Divide by Ten Method
- The Clock Method
- Ask the Tower
- Graphs
- Aircraft Avionics
-
The Crosswind Takeoff
- Airplane News Update
-
The Turn onto Final Approach
-
The Crosswind Approach
- The Wing-Low Method
- The Crab Method
-
The Crosswind Landing
- Don’t Land at the Stall
- Compensating for Wind Gusts
- The Landing
- Go Around or Divert
-
Conclusion
Crosswind landings are often overlooked during flight training and cause many accidents every year, primarily due to pilot error. Fortunately, crosswind operations are not complicated but require practice to perform safely. This article will discuss what a crosswind is, why it is a problem, and how to calculate the crosswind component. Finally, we’ll explore how to safely takeoff and land in a crosswind.
What Is a Crosswind?
Within the context of a landing, a crosswind is when the wind direction is not aligned with the runway centerline. Because an aircraft points in the prevailing wind direction during flight (called the weathercock effect), the aircraft will point either left or right of the centerline during the approach and landing, despite flying in the runway direction.
Why Is a Crosswind an Issue?
Because the aircraft’s nose is not aligned with the centerline during the landing, the airplane, if left uncorrected, will land sidewards. If the aircraft touches down safely (which it may not, as it will essentially be landing on the side of the landing gear), it will be pointed left or right of the centerline and will begin its ground roll in that direction, off of the runway.
To avoid this, pilots use specific landing techniques to ensure that the aircraft will touch down with its nose aligned with the centerline, allowing it to remain on the runway.
These techniques are aerodynamically limited, however. If the crosswind component is too high, the pilots will not be able to land, as the control surfaces will not be effective enough to counter the crosswind component.
How to Calculate the Crosswind Component
Calculating the crosswind component is vital, as you will have to fly within crosswind limitations. The issue with calculating the crosswind component is that you will often have to do this calculation in the air before landing, sometimes on the final approach.
To calculate the crosswind component, you need to know three numbers: The wind speed (in knots), the wind direction (in degrees magnetic), and the runway direction (also in degrees magnetic).
The easiest method of determining the crosswind component is to use a crosswind component calculator. This function is available on E6B calculators and can be downloaded on your phone as an app. Inputting the wind speed, direction, and runway direction into a calculator during flight is often not practical, however.
Luckily, there are ways of determining the crosswind component in flight that won’t require a mathematics degree!
The Divide by Ten Method
This method is my personal favorite and the one I use almost every day.
In our example: Runway 26, Wind 230 degrees at 15 knots.
First, divide the wind direction by ten, then determine the difference (in degrees) between the runway heading and wind direction.
In our example:
230 ÷ 10 = 23
26 – 23 = 3
Now, add two:
3 + 2 = 5
Then divide the wind speed by ten:
15 ÷ 10 = 1.5
Then multiply the wind speed by the difference in wind direction:
5 x 1.5 = 7.5
Voila, the crosswind is 7.5 knots!
This method is the most accurate and, in my opinion, most straightforward way to calculate a crosswind component in your head.
The Clock Method
This is one of the most popular methods of determining the crosswind component in your head.
Let’s use the same example as before: Runway 26, Wind 230 degrees at 15 knots.
Begin by determining the difference in direction between the runway and wind direction.
260 – 230 = 30
Now, imagine a clock face, with indications from 0 to 60. Use the difference in direction, in this case, 30 degrees, and imagine the degrees as minutes, i.e., 30 minutes on the clock.
Now determine how far the minute hand is around the clock. For 30 minutes, the minute hand is halfway around the clock (60 minutes – 30 minutes = 30 minutes).
Now multiply the ratio, in this case, ½ or 0.5, by the wind speed:
15 x 0.5 = 7.5 knots crosswind.
This method requires you to determine the ratio of minutes (degrees) to 60 and then multiply by the wind speed. Any difference of 60 or larger considers the crosswind to be 100% of the wind speed.
Ask the Tower
Air Traffic Control (ATC) is extremely helpful, particularly in emergencies. While asking the tower for a crosswind component is certainly possible, in certain situations, it may be a show of poor airmanship.
The air traffic controller may not have crosswind components readily available and may have to calculate the crosswind component manually when asked. If the controller’s workload is high, asking them to provide you with a crosswind component may further increase their workload.
Graphs
Most Pilot’s Operating Handbooks (POHs) have graphs that can be used to determine the crosswind component. While they are undoubtedly helpful, using these graphs in the cockpit will be even more difficult than inputting the numbers in a calculator.
Aircraft Avionics
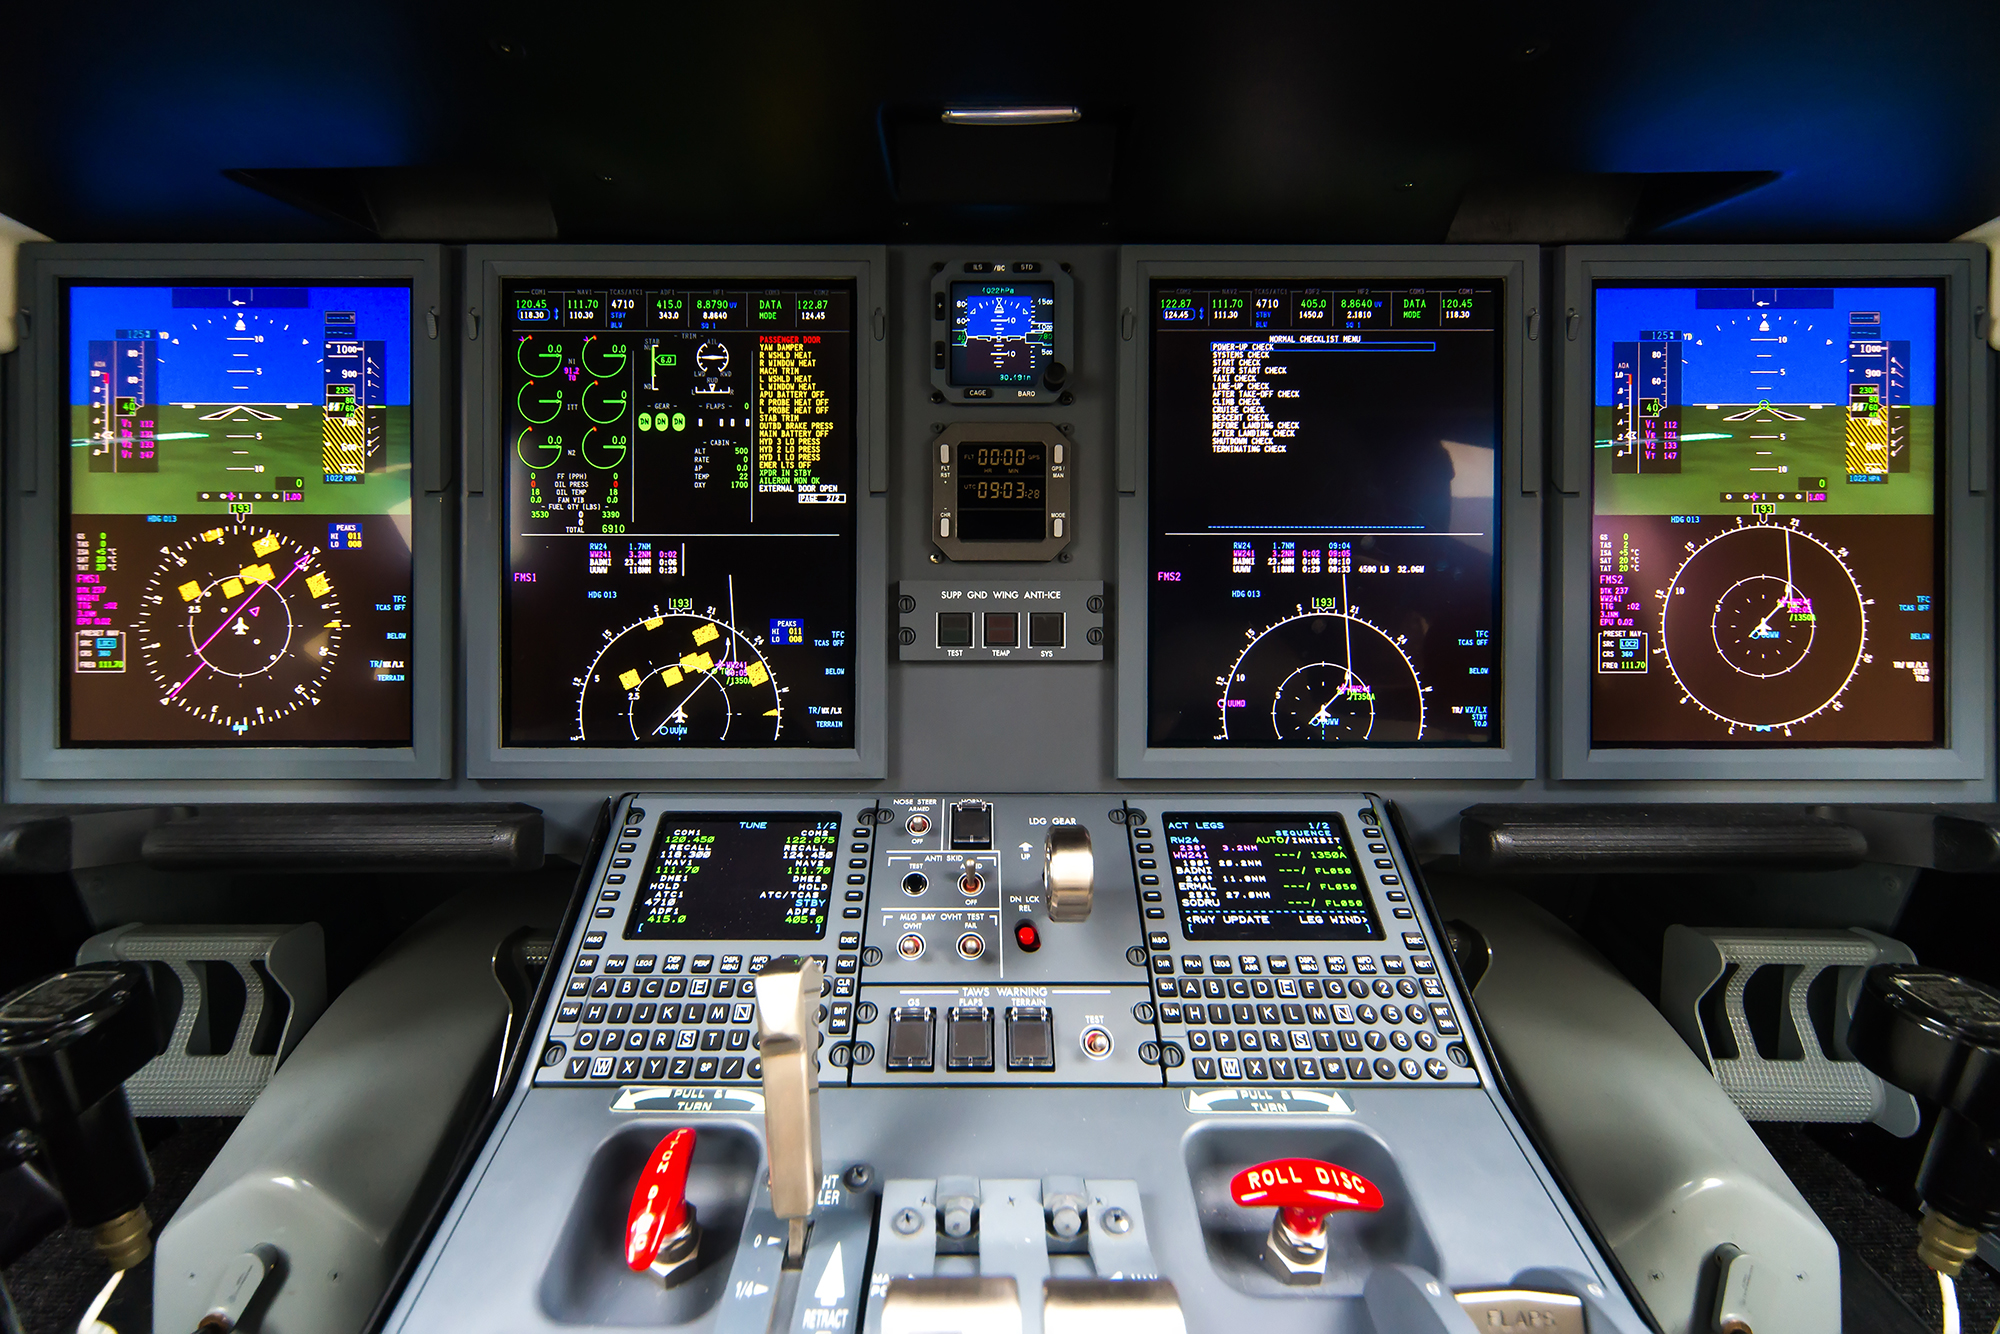
Many avionics systems (such as the G1000) have built-in wind direction indicators. These avionics systems use GPS-derived track information and heading indicator information to determine the wind direction. In the G1000, selecting “Option 1” in the wind menu will display the wind indication as headwind/tailwind and crosswind components.
Remember that this wind indication is calculated using data from the GPS and heading indicator. If either of which is inoperable or provides erroneous data, the wind indication will be invalid.
Also, keep in mind that the wind displayed is for the particular position and altitude that you are in. The wind is fluid, meaning that the wind at surface level at the airport may be vastly different from the wind displayed in the air.
The Crosswind Takeoff

For some reason, no one seems to talk about the crosswind takeoff, while its brother, the crosswind landing, gets all the attention.
The reality is, while difficult to get completely wrong, the crosswind takeoff requires skill and finesse to get beautifully right.
Here are some things to keep in mind during a crosswind takeoff:
Before departure, consider whether the crosswind is light enough for departure. Crosswind limitations are often considered in the context of a landing but rarely discussed before a takeoff. Also, consider whether there are alternate runways available for departure.
During the initial ground roll on takeoff, ailerons should be fully deflected into the wind and slowly brought back to a nearly neutral (but still deflected into the wind) position before rotation. This is to ensure that the aircraft remains on the runway until rotation speed is attained.
As you rotate, the aircraft will experience the weathercock effect and “swing” into the direction of the wind. Allow the airplane to do this, then keep the wings level.
After departure, use coordinated rudder and aileron input to keep the aircraft in balance and wings level while maintaining a track aligned with the centerline.
Use the minimum flap setting possible when taking off in a strong crosswind. Using the minimum flap setting possible will allow the aircraft to accelerate faster after rotation, and the drift angle will therefore be minimized.
The Turn onto Final Approach
Every pilot worth their salt knows that a good landing begins before the final approach.
The turn onto the final approach can be particularly tricky when crosswind conditions prevail.
If, before your turn onto the final approach (on the base leg, for example), you are experiencing a headwind, keep the following in mind:
The wind will “push” you away from the final approach path during the turn onto the final approach, and as such, you may have to begin the turn later than usual or use a smaller bank angle. Also, remember that your groundspeed will be lower, so you will have more time to descend.
Conversely, if you are experiencing a tailwind:
The wind “pushes” you towards the final approach path during the turn onto the final approach. You will have to begin your turn earlier or use a larger bank angle. Do not use an extreme bank angle as it will increase the stall speed. No more than a 30-degree bank angle is recommended. Furthermore, you must remain coordinated and in balance during this turn. Do not use excessive rudder inputs to “skid” the aircraft onto the final approach, as this can cause an inadvertent spin at low speeds.
Your groundspeed will be higher, so you will have less time to descend to the appropriate glideslope before turning onto the final approach.
The Crosswind Approach
Finally – the meat and potatoes you’ve been waiting for.
The crosswind approach and landing has caught many pilots with their proverbial pants down. Let’s keep those pants up, shall we?
There are essentially two methods of performing the crosswind approach.
The Wing-Low Method
When using the wing-low approach, the aircraft is banked into the wind, and the rudder is used to keep the nose aligned with the centerline of the runway. This method is used during the crosswind landing (which we’ll discuss later on), regardless of what method of approach you are using. The wing-low approach is essentially just the process of using the crosswind landing technique during the entire final approach.
The wing-low method is a slip maneuver that uses cross control inputs between the rudder and ailerons. As such, it is an inefficient method of flying a crosswind approach.
The Crab Method
The crab method keeps the wings level during the approach, with the nose naturally aligned with the crosswind. While “crabbing,” the aircraft’s nose is pointed in the direction of the wind component while the aircraft’s track is aligned with the centerline.
The crab angle is removed during the round-out, and the aircraft enters the wing-low position, ready to touch down. During this maneuver, rudder input is used to bring the airplane’s nose back in line with the centerline, and aileron input is used to keep the aircraft’s position over the runway.
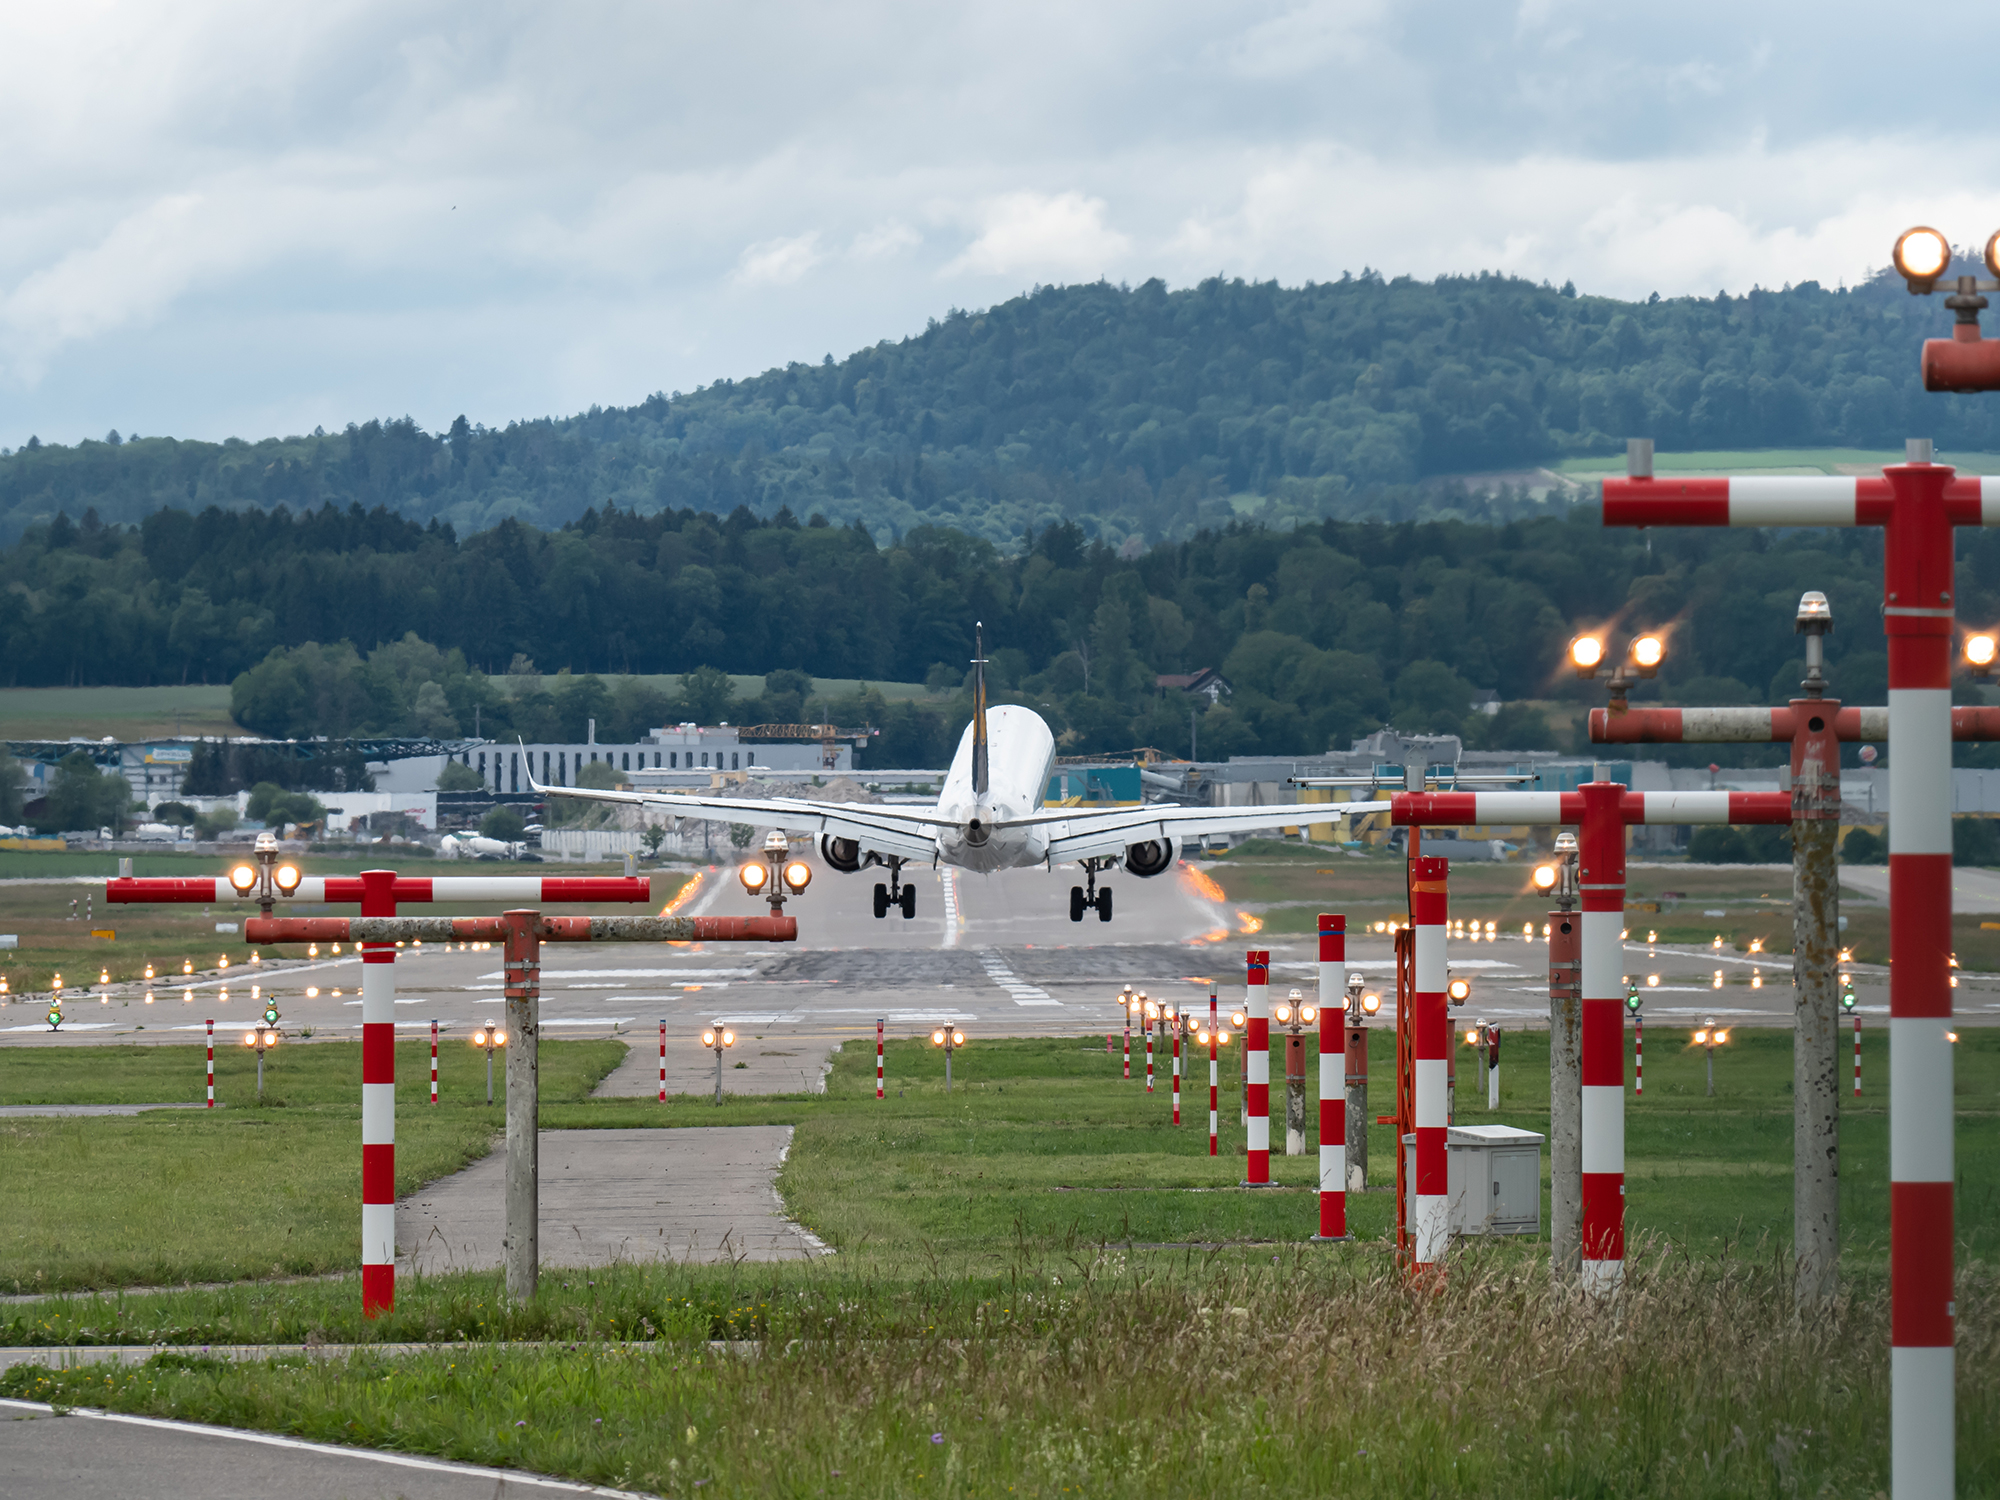
The Crosswind Landing
As stated previously, a good crosswind landing begins before you arrive at the runway.
During the approach, you may experience turbulence, wind shear, and general wind gusts; To successfully land in crosswind conditions, you will have to compensate for these conditions.
Don’t Land at the Stall
When it comes to landing in a crosswind or turbulent wind conditions, the golden rule is don’t try to grease the landing.
When landing in a crosswind, the only thing keeping you on the runway is your control inputs. When speed decreases, control effectiveness decreases. If you try to land as slowly as possible, your airspeed may drop below the required speed to maintain control effectiveness.
Suppose you are landing in turbulent wind conditions with associated wind gusts. In that case, you will also need to maintain greater control effectiveness during the landing, as the turbulent conditions will upset your aircraft’s attitude and require corrections. The wind gusts may decrease your speed suddenly, which will require an increase in pitch attitude to avoid sinking, which may cause you to stall prematurely.
The trick is to land at a speed that will provide sufficient control effectiveness and an adequate margin between the stall speed while maintaining the lowest rate of descent at the touchdown. Because you will be landing at a higher speed, the landing will be more “positive” (pilot jargon for harder) than if you landed at a slower speed on a calm day.
Compensating for Wind Gusts
The gust factor is a significant contributor to landing incidents. The gust factor is the difference between the wind speed and the wind gust speed. In other words, if the wind speed is reported as 14 gusting 21, the gust factor is 21 – 14 = 7 knots. Wind gusts become even more challenging when landing in a crosswind, as you will have to use cross control inputs using the rudder and ailerons during landing, which will make compensating for sudden increases or decreases in a wind speed challenge.
During your approach, add half of the reported gust factor to your approach speed. Adding the extra speed to your approach will allow you to maintain control effectiveness and not stall prematurely if you experience significant speed variations during landing.
The Landing
Once you have commenced with the round out and have entered the flare in the wing low position, you are now ready to touch down. During a crosswind landing, you will touch down with the right or left (depending on the crosswind direction) main landing gear first and then allow the other main landing gear to touch down gently. All of this should be done while keeping the airplane’s nose aligned with the centerline.
Aim to touch down as the minimum rate of descent while maintaining a speed above the stall speed to maintain control effectiveness. Take note of your touchdown point; if you see that you will touch down later than expected, go around and try again.
Once you have successfully touched down with the main landing gear, keep the ailerons deflected into the wind. Bringing the ailerons to the neutral position will increase the effects of the crosswind and may cause the aircraft to roll (i.e., one wing will become airborne again).
Go Around or Divert
The best piece of advice concerning crosswind landings is to go around or divert if you are uncomfortable with the conditions. There is no shame in understanding the limits of your skills as a pilot. If you feel that your crosswind landing technique is lacking, schedule a flight with a Certified Flight Instructor (CFI) to practice crosswind landings.
Conclusion
Crosswind landings are not inherently complicated procedures but require practice to become comfortable with. Mastering the crosswind takeoff and landing is a vital skill for any pilot. Unfortunately, many pilots don’t realize their crosswind landing or takeoff skills are lacking until after the aircraft inadvertently departs the runway. If you understand the aerodynamic, meteorological, and pilot control aspects of crosswind operations, the crosswind landing and takeoff will become a non-event.