Landing an airplane can be one of the most nerve-wracking tasks for a student pilot. Getting an airplane to fly is easy. But landing it safely on the runway is a skill. As a pilot, you will need time to master it.
A good landing is all about timing and coordination.
We’ll guide you through the steps. When it’s your turn in the cockpit, you’ll know what to do—whether it’s a routine landing or something urgent.
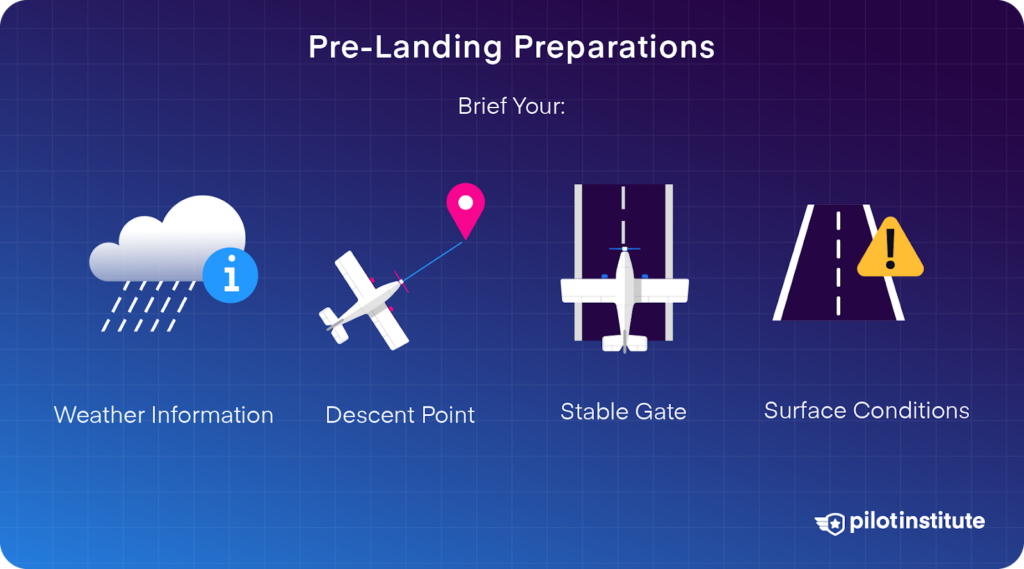
Pre-Landing Preparations
Like many things in aviation, planning and preparation are key. A pilot must consider several things before landing. A solid briefing and strict checklist use will set you up for a safe and standard landing.
Not sure where to begin? Lucky for you, we’ve included everything you should cover in your briefing and checklist.
Briefing
A pre-landing briefing highlights essential points critical to the approach and landing phase.
Having a solid briefing will increase your situational awareness. This will make you more prepared for what is to come.
Remember, a briefing is designed to be brief. So, cover only the points relevant to your landing.
So, what should you include?
Weather
It’s a good idea to brief any weather that could make your landing more challenging.
If there is a crosswind at the airport, you should mention this in your brief. Discuss your nominated crosswind technique. You will either carry out the side-slip or de-crab technique.
Explain what aircraft input you will require to land the aircraft in the crosswind.
For example, the crosswind is from left to right. Brief that you will use the right rudder to align the aircraft straight with the runway and the left aileron to counteract drift. Landing on the windward wheel.
Depending on the wind direction and airport surroundings, you may experience some turbulence. Briefing this in advance will make you more prepared for this.
You may also choose to configure the aircraft earlier. This will reduce your workload in turbulent conditions. It also allows you to focus on flying during the last stages of the approach and landing.
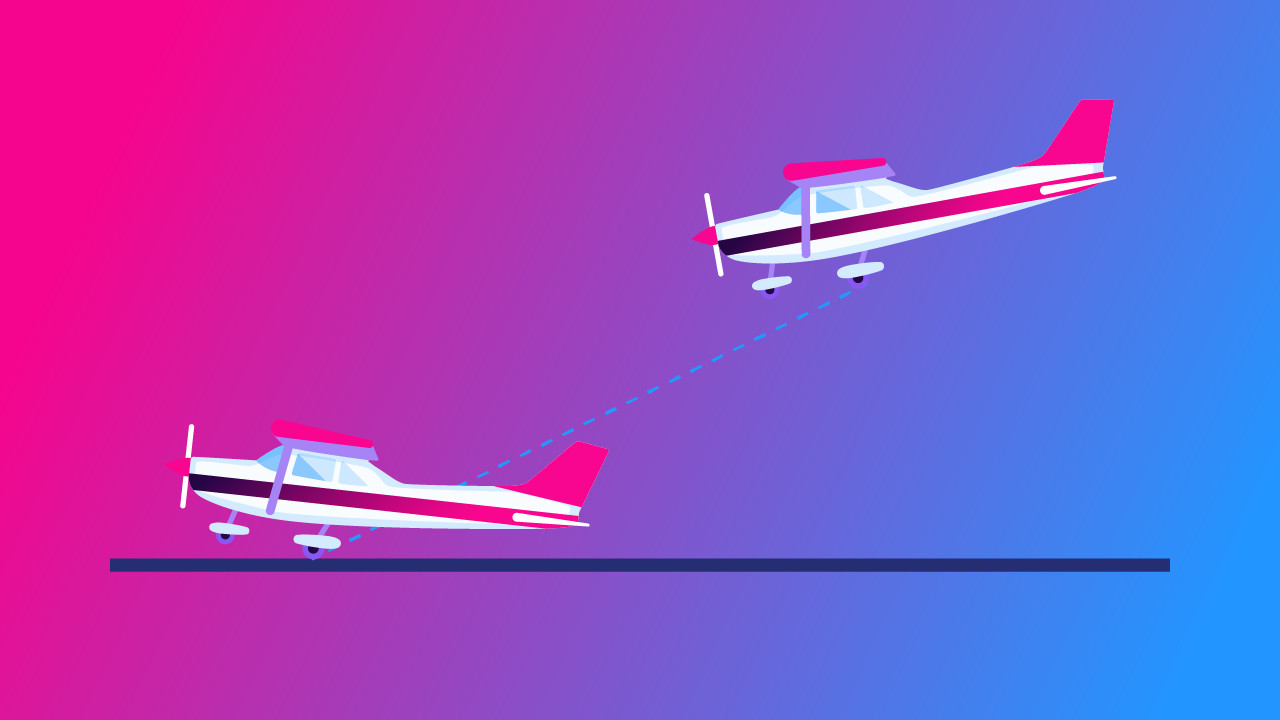
Descent Point
Nominate a descent point that will give you a constant 3° profile to the threshold. This allows you to configure appropriately and ensures a stabilized approach.
We can calculate the rate of descent required to achieve a 3° profile.
Take your ground speed in knots and divide it by two. Add a zero to this number, and you have your target rate of descent.
For example: 80 kts/2 = 40. Add a zero, and that gives you a 400ft target rate of descent. As you slow down, your ground speed will reduce, and so will your required rate of descent.
If you’re in the circuit, the standard descent point is at the end of the downwind leg before you turn base.
Stable Gate
The stable gate ensures the aircraft is correctly configured on speed and profile. Nominate what speed you aim to fly throughout the approach and landing.
If you aren’t in alignment with the runway at 500 ft or are off speed or profile, go around.
Everything happens quickly as you approach the ground. So, if you are not happy with your approach, go around and try again.
Surface Conditions
Sometimes, the rollout can be more challenging than the landing. Especially when surface conditions are poor.
Brief the runway conditions. Mention what you will do to mitigate the threats associated with them.
Wet runways can be more slippery and, therefore, harder to control the aircraft on the ground. If any standing water is present, there is also a threat of aquaplaning. Slow and smooth braking can help mitigate this.
Are you landing on a grass runway? Using aerodynamic braking by increasing back pressure will help you slow down. This, along with smooth braking, will stop the threat of skidding if the grass is muddy.
Checklists
Strict checklist use will ensure you don’t miss any crucial items before landing. Aviation is full of mnemonics that help us remember certain checklists.
GUMPS
The mnemonic GUMPS can be used as a pre-landing checklist in VFR and IFR flying. If you are flying VFR, you will do this downwind in the circuit. An IFR pilot will run the GUMPS checklist before passing the final approach fix.
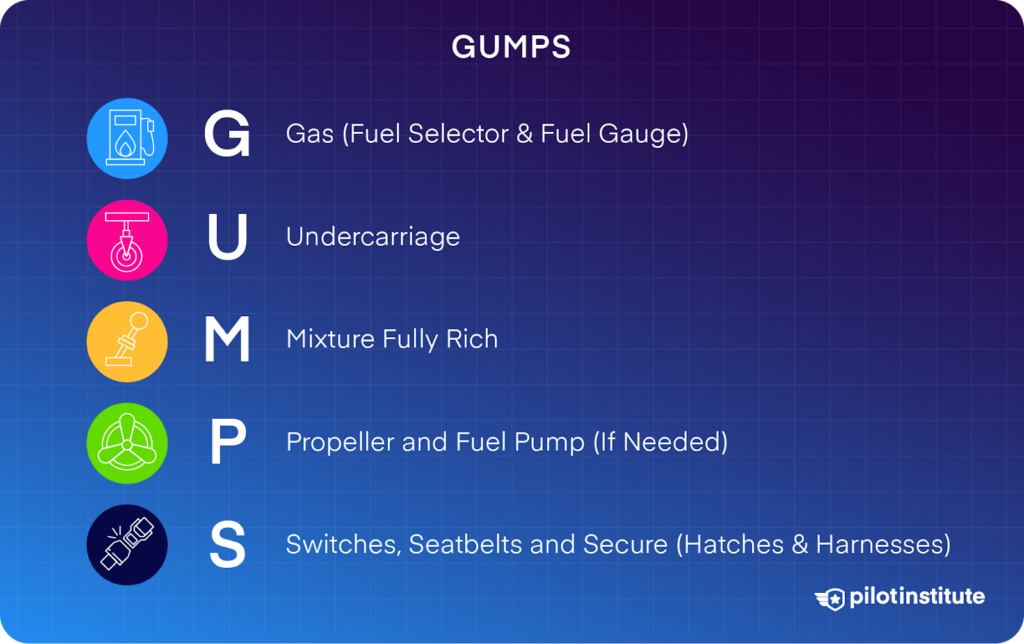
So, what does GUMPS stand for?
- Gas – Make sure you have sufficient fuel remaining. Check that the fuel selector is on the correct tanks and that the gauges are in the green.
- Undercarriage – You will want to check the undercarriage is down for landing.
- Mixture – Select the mixture to be fully rich.
- Propeller – Full forward for in the case of a go-around.
- Seat belts – Seat belts are on and secure. Circuit breakers are in. Harnesses and hatches closed.
GUMPS covers the critical items you can’t afford to miss for a landing. Along with this checklist, you must still remember to talk to ATC and brief the approach and landing.
Aligning with the Runway
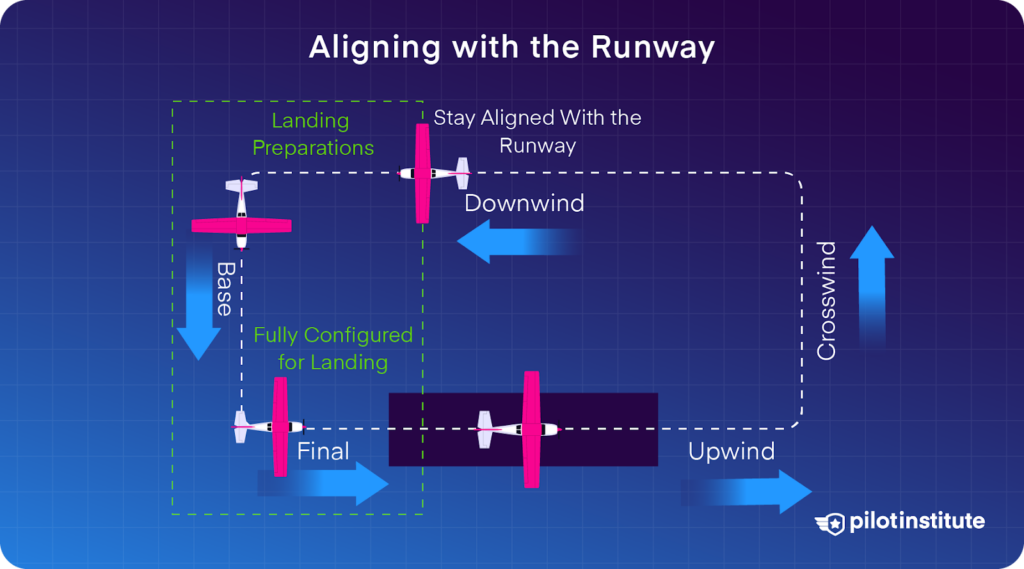
Now that we have briefed and carried out relevant checklists, we are ready to begin the approach.
Base Turn
If we are VFR and in the circuit, the first turn we will make from downwind is the turn onto base.
During the base turn, we begin to slow down and configure. We also start our descent from the circuit altitude. To begin the base turn, you want to turn 90° toward the runway.
In small aircraft, a target speed of 1.4 x Vso (fully configured stall speed) seems to work well. So if your Vso is 50 knots, then aim to fly 70 knots.
Nail your nominated airspeed from the beginning. This will prevent you from chasing your airspeed and allow you to configure by extending flaps.
Being too fast will cause you to exceed your flap extension speed. This means you will not be able to extend the flap. Leading you to become too high and too fast on the approach.
Select your first stage of flaps while established on base.
Keep up a good scan and be proactive with power and attitude changes.
Final Approach
The last turn will be from base to final. If flying IFR, most approaches will align you perfectly with the runway. If it is an offset approach, break off when you are visual with the runway and join final.
If you’re in the circuit, when commencing the turn, identify if there is any drift. Allowing for drift will mean you will fly straight down the final approach path.
You want to judge the turn onto final, using up to 30° angle of bank. If the turn is misjudged, keep the turn coming around until you can align yourself. Don’t try to steepen up the turn, as this can lead to a stall.
Once established on the final approach, you want to fully configure. This means selecting full flaps and ensuring gear down for landing.
Remember, pitch controls airspeed, and power controls altitude. Be proactive with these changes.
As you approach 500 feet, make sure you are stable. This means on speed, on profile, and fully configured. If you are not stable, commence a go-around and try again. It is also a good time to check that everything looks as it should.
Approach Speed
When crossing the threshold, you must ensure you fly the correct approach speed. We calculate our approach speed using 1.3 x Vso. We multiply Vso by 1.3 to give a buffer for the margin of error.
So if our stall speed was 50 knots, our approach speed would be 65 knots.
Flare
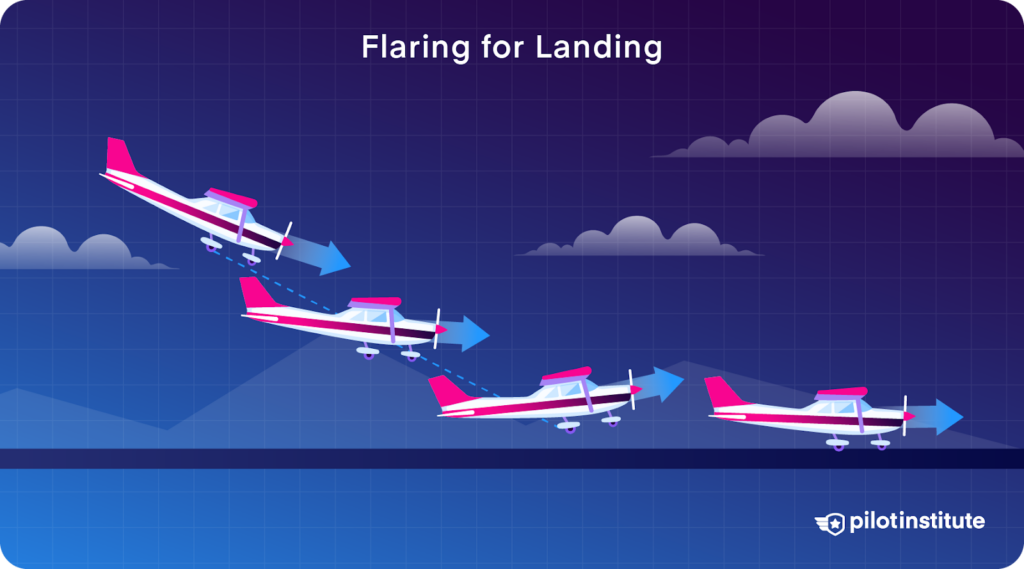
You will transition into the flare as you cross the threshold and get closer to the ground.
But how do I know exactly when to flare? Good question.
In most general aviation aircraft, we tend to initiate the flare at 10 feet. But this can be hard to judge when the altimeter is so sensitive. Plus, our eyes will be outside at this point.
Instead, begin to initiate the flare when the runway starts to fill the windscreen.
You will be able to tell you are close to the ground as the surroundings drastically increase in size.
To flare, slowly reduce the power to flight idle and gently ease back on the control column. You’re aiming to achieve a slight nose-up attitude.
If done correctly, the aircraft’s rate of descent will arrest, and your airspeed will decay. Giving you a nice and smooth touchdown.
Touchdown and Rollout
Once you have landed, you might think your job is done. But the landing isn’t over until you have slowed down and come to a stop.
You’ll want to slowly lower the nose wheel onto the ground on touchdown. To do this, gently push forward on the control column.
Smoothly transition your feet onto the brakes and apply light pressure to them.
It’s important to avoid applying the brakes during touchdown. Doing this can lead to excessive tire wear or even a blowout. This is due to the sudden increase in friction between the tires and the runway.
If landing on a short field, you can use aerodynamic braking to help slow you down. After you touch down, carefully ease back on the control column, making sure not to take flight again. This keeps more weight on the main gear, making braking more effective.
Landing in Emergency Situations

Emergencies are always stressful. Their unexpected and urgent nature means you will have a high workload and be under pressure.
When landing in emergencies, you have to remember to prioritize tasks. It’s easy to be distracted by a million other things. But at the end of the day, it is your responsibility to get the aircraft on the ground safely.
Although unexpected, we are trained for emergencies. Some are more unlucky than others, but having an idea of what to do will give you an upper hand.
Engine Failures
Single Engine
Engine failures are something all pilots dread, especially in a single-engine aircraft. But as pilots, we must prepare for the worst and hope for the best.
Briefing initial actions following an engine failure at takeoff gives us an idea of what to do. We brief this before takeoff, so our plan is at the front of our minds on departure.
If you encounter an engine failure, remaining calm and flying at the best glide speed is crucial. You will need to configure the aircraft to land in your chosen area. Make sure you fly your approach speed accurately.
When landing on a runway, you may want to carry extra airspeed during the approach. This guarantees that you have enough energy to reach the runway.
If you establish yourself on final too high or too fast, you can utilize the sideslip maneuver. This maneuver allows you to quickly wash off some airspeed and altitude.
Make sure you focus on flying the aircraft first and foremost. Broadcast a MAYDAY call if time permits.
Multi-Engine
Having one of your engines fail is not the end of the world if you are proficient. Pilots are trained to fly and land multi-engine aircraft with one inoperative.
Perform a comprehensive brief and run through any required checklists. This will reduce stress and give you greater situational awareness. The more prepared you are, the better the outcome will be.
Remember that single-engine landings will be slightly different in a multi-engine aircraft. This is because only one engine produces thrust. So, during landing, there will be a yaw towards the live engine.
Make sure to brief which way the aircraft will yaw, and which rudder you will use to counteract it.
Conclusion
Don’t let landings scare you off from flying. Ask your instructor to let you repeat them until you get a feel for the aircraft. Landings are more about precision than perfection.
You’ll have times when things go smoothly and others where you might need to adjust on the fly. Just remember: stay calm and stick to the basics.
After all, even seasoned pilots had to learn the hard way. In time you’ll see that landing is more about making the right choices in the moment.
Safe flying!